Setting up Gmail OAuth with Gmail API
In this post I'm going to show you how to set up a Gmail OAuth2 application for Gmail API and to generate credentials to use with EmailEngine.

In a previous post, I showed how to configure EmailEngine to access Gmail accounts over OAuth2. The specific configuration used IMAP and SMTP as the actual email backend. EmailEngine used Gmail OAuth2 to generate the required access token to authenticate a user but did not use the actual Gmail API. In this post, I'll show how to configure EmailEngine to use Gmail REST API as the email backend. In this case, EmailEngine does not open any IMAP or SMTP sessions and instead runs all operations by issuing Gmail REST API calls. A lot of it looks similar, but there is an additional step to configure a webhook service account.
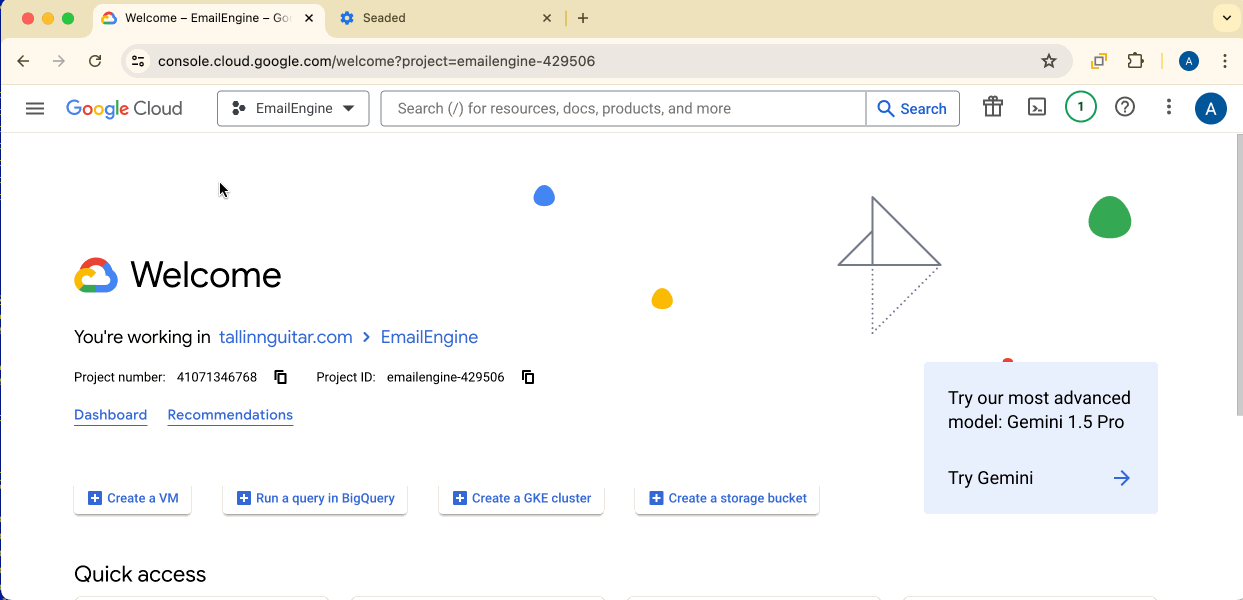
To start, go to Google Cloud Console and open the project menu in the top navbar. If you have no projects, the menu button will say "Select a project"; otherwise, it will display the name of the last opened project.
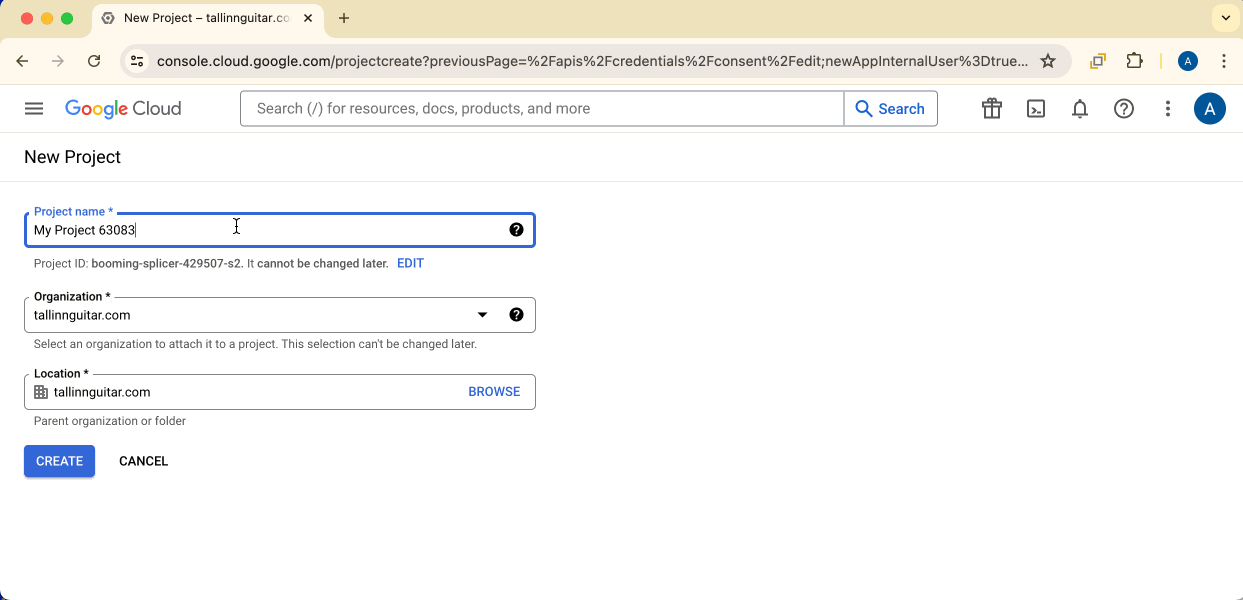
Click the "New project" button on the opened modal to start.

On the project settings screen, you can only name your project; all other fields are prefilled and can not be changed. We'll use "EmailEngine" as the project name in this example.
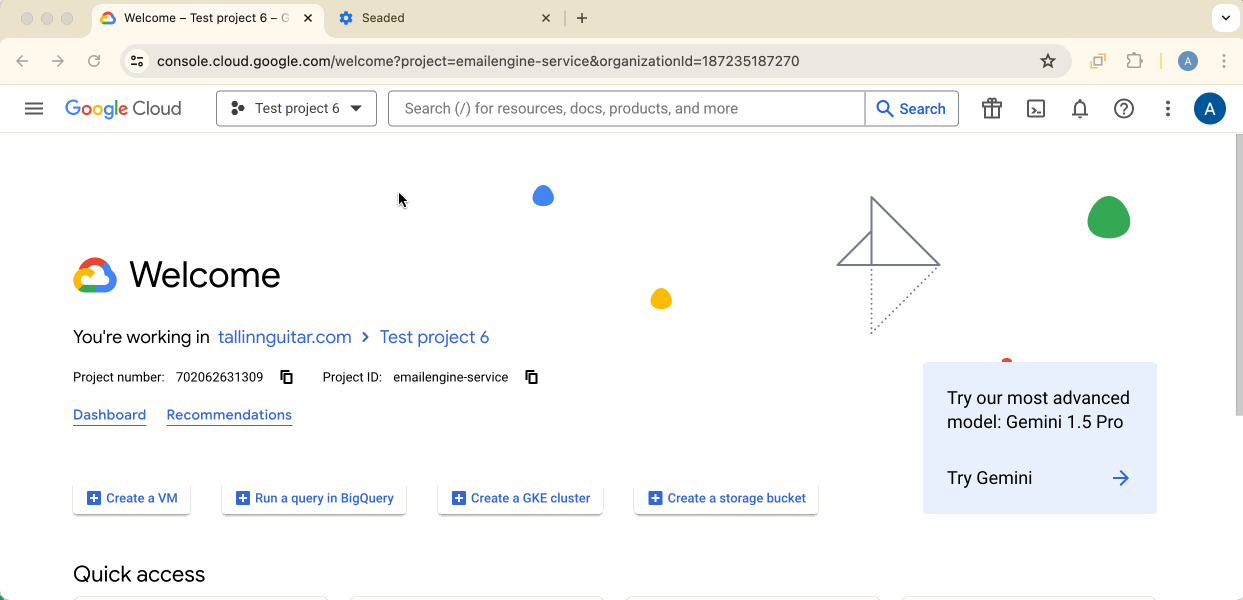
It takes time to finish creating the project, so we must wait until it has actually been created. After that, we can select it from the project menu.
The newly created project is empty at first, so we have to configure it. First, we will need to enable the APIs that we require. Click on the top-left hamburger menu, find "APIs & Services," and select "Enabled APIs & Services."
In any case, we need to find and enable Gmail API for our project, otherwise EmailEngine would not be able to perform requests against it.
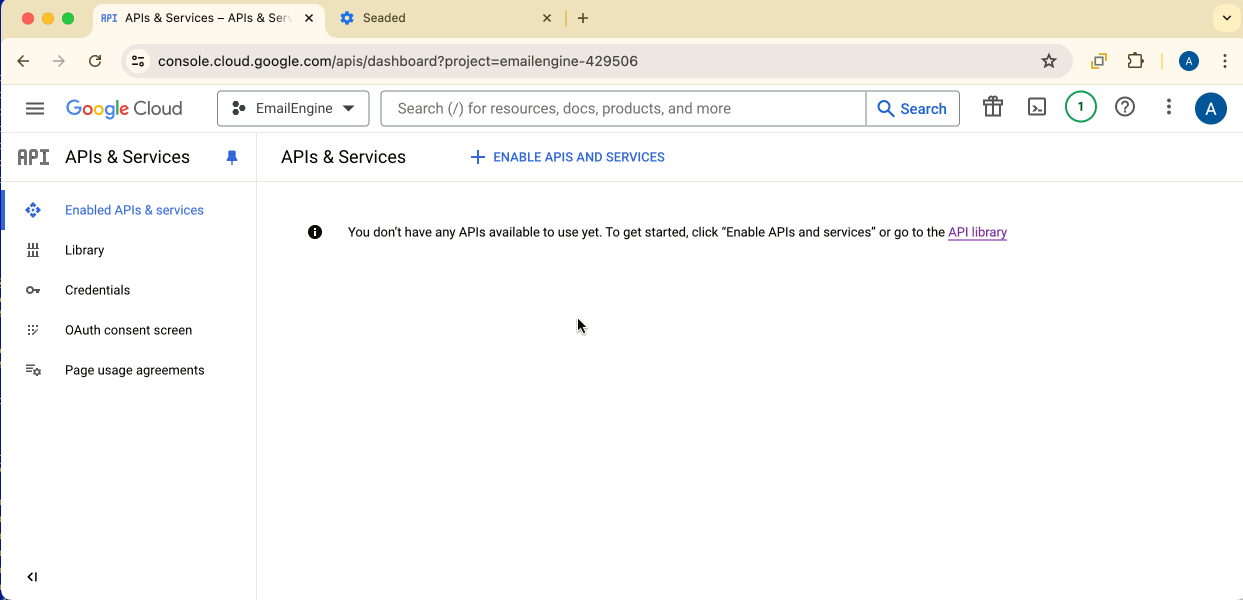
In addition to Gmail API, we also need to enable Cloud Pub/Sub API. Gmail would push notifications about changes on an email account (new message received, message flags changed, etc.) not to EmailEngine directly but instead to their Pub/Sub system. EmailEngine needs to set up a PubSub topic and a subscription to catch these notifications and turn these into webhooks for your application.
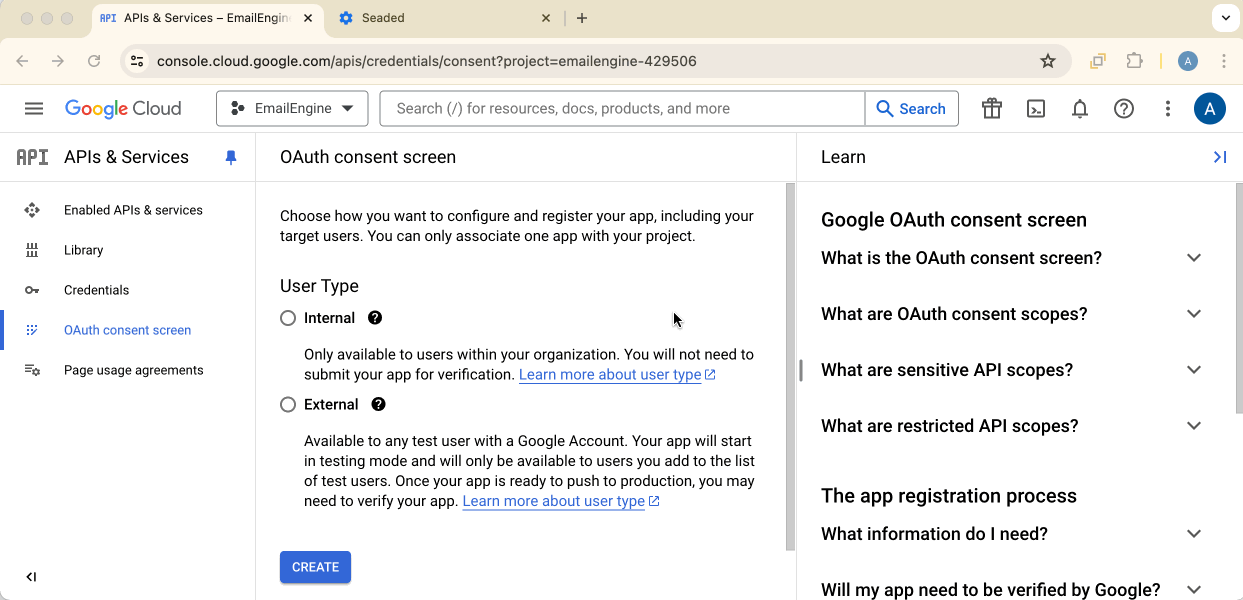
Next, we can start configuring the user consent screen. This is the web page displayed to users when they want to give EmailEngine access to their email accounts. Click on the top-left hamburger menu, find "APIs & Services," and select "OAuth consent screen."
Now we have to decide which kind of users we give access to. In this section, we select "Internal" so that only accounts from your own organization can be used. This is great for testing and organization-specific apps but not for public apps, as there is no way to add accounts from other Google Workspace organizations or free @gmail.com-accounts. Selecting an "external" application would be better for production, but it would require a verification process outside the scope of this tutorial.
App name again, we'll go with the project's name, which is "EmailEngine." We also need to provide support and developer email addresses. Other project-related fields, like the homepage, etc., are required for production, not for testing, but we'll fill these out in any way.

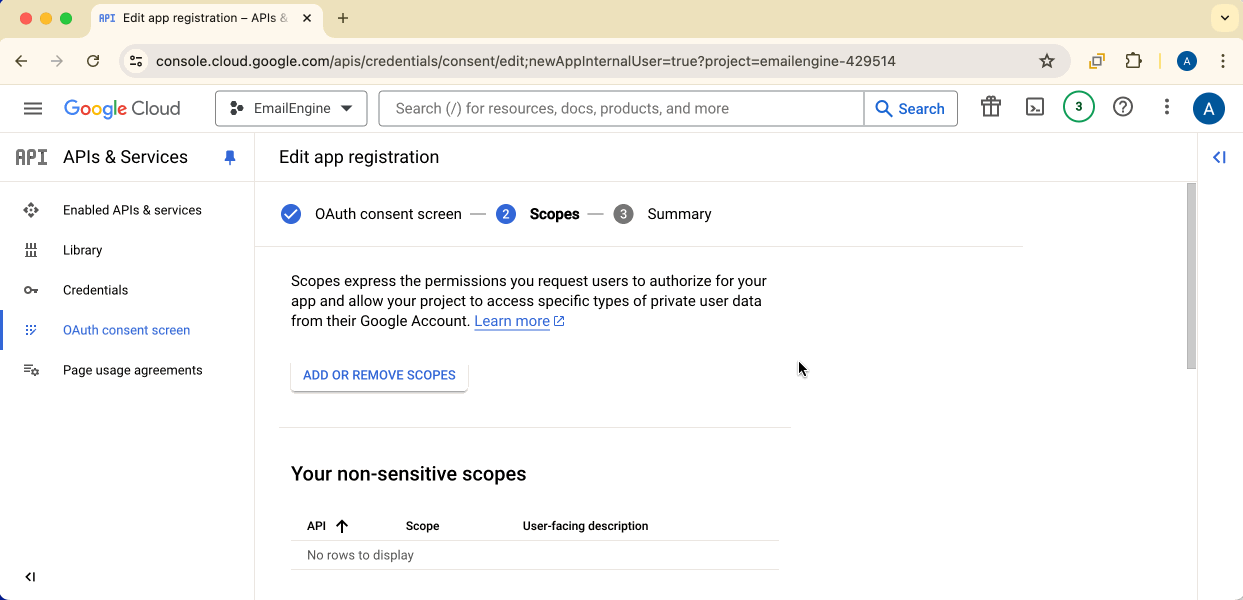
Click on the "Add or remove scopes" button and find "gmail.modify" from the list. Check it and click on "Update" to apply the changes.
If you need to use different scopes than gmail.modify — for example, if Google's verification process determined that you can achieve your use case with more limited scopes — then see the instructions in the Appendices.
Scroll down to the end of the page and click on the "Save and continue" button to finish setting up the user consent screen.
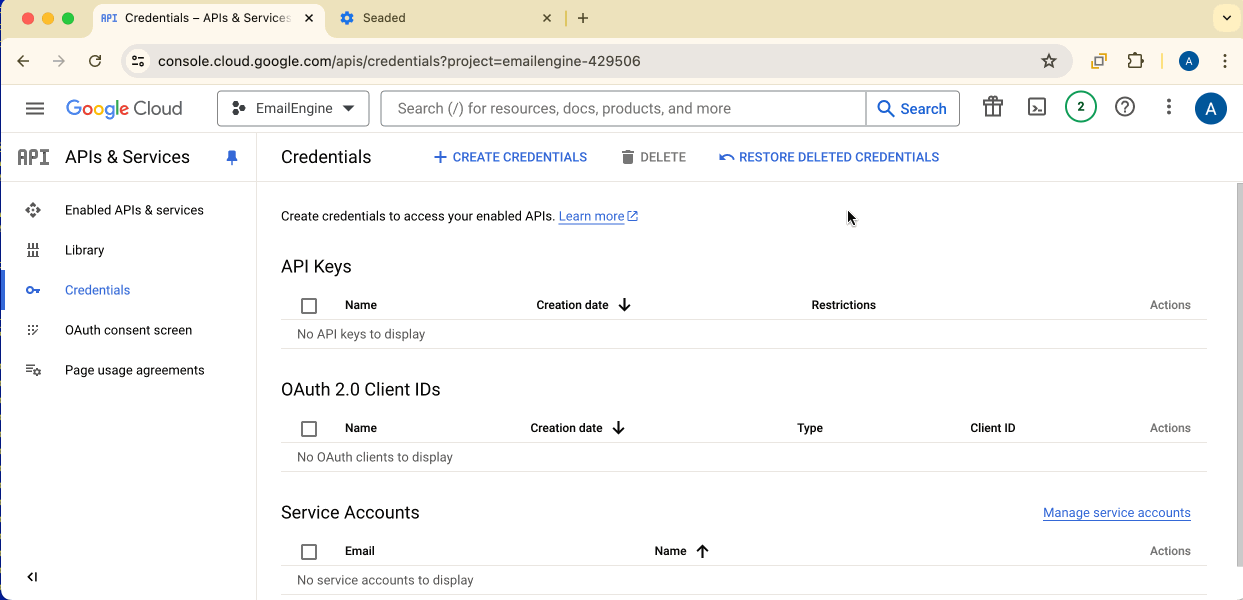
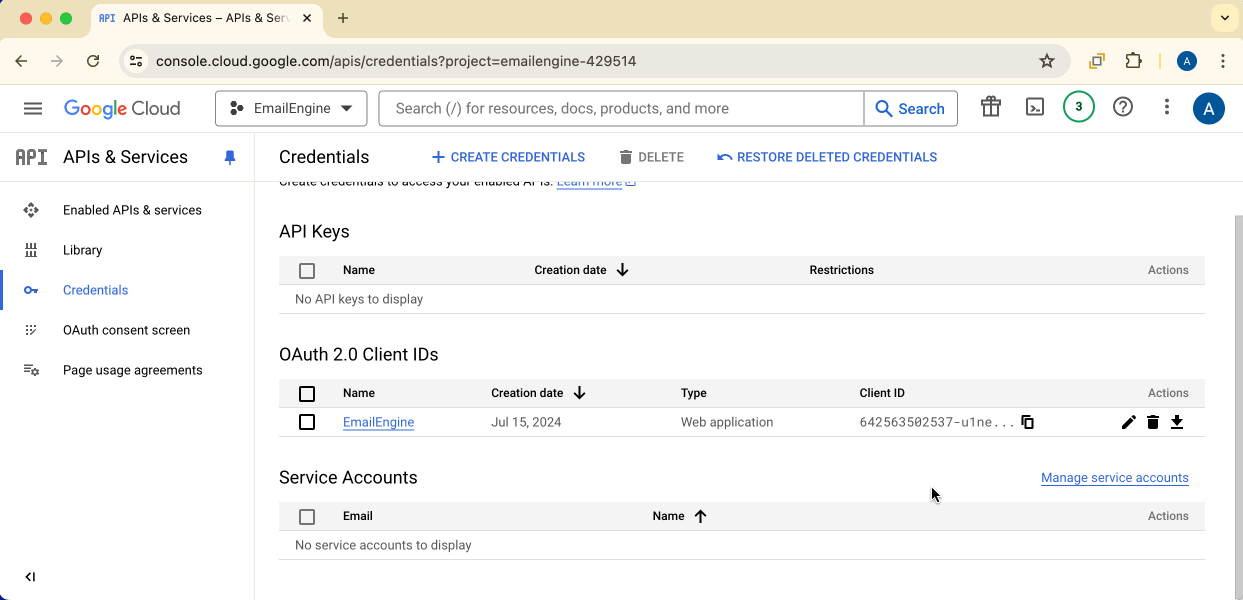
Now that our app is configured, we need to create some credentials for EmailEngine. Navigate to the "Credentials" page in the "APIs & Services" section.
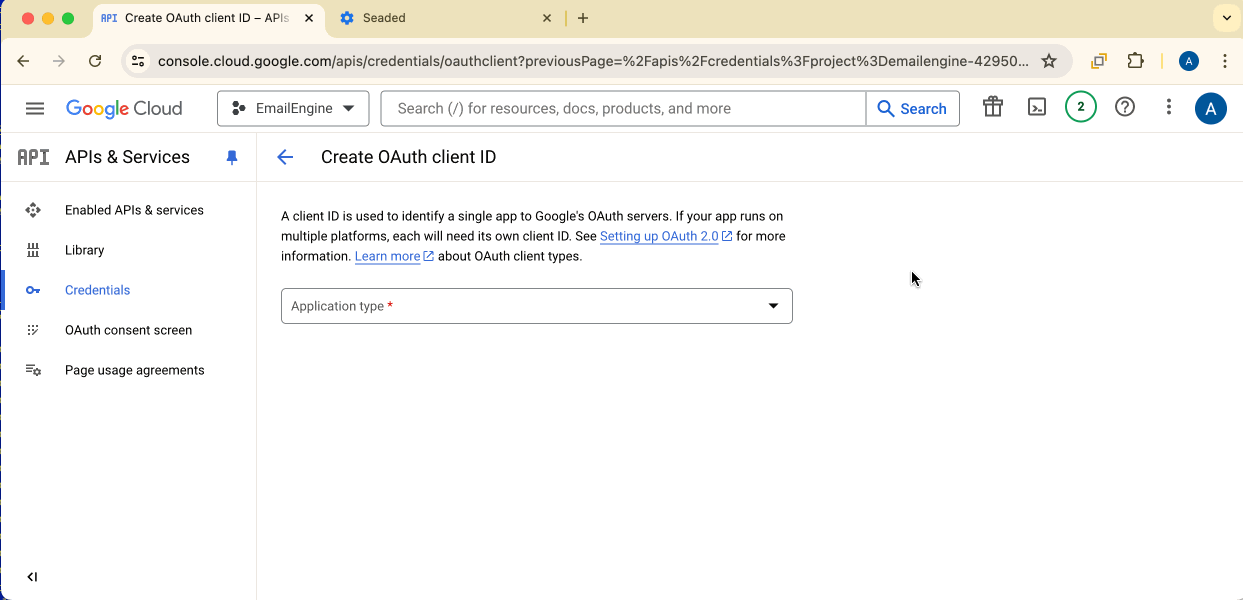
The credentials list is empty at first, so we need to create some by clicking on the "Create credentials" button and then selecting "OAuth client ID" from the drop-down list.
The application type is "Web application". We also need to provide some URIs. First is the application URI without any path part. The default for EmailEngine is "http://127.0.0.1:3000," but you might have something else, depending on your setup.
Next is the OAuth redirect URL. Once the user has consented, Google will redirect the user to this URL with appropriate tokens, so it must point to the EmailEngine's OAuth handling page. Basically, it's the app URI + "/oauth", e.g., "http://127.0.0.1:3000/oauth".
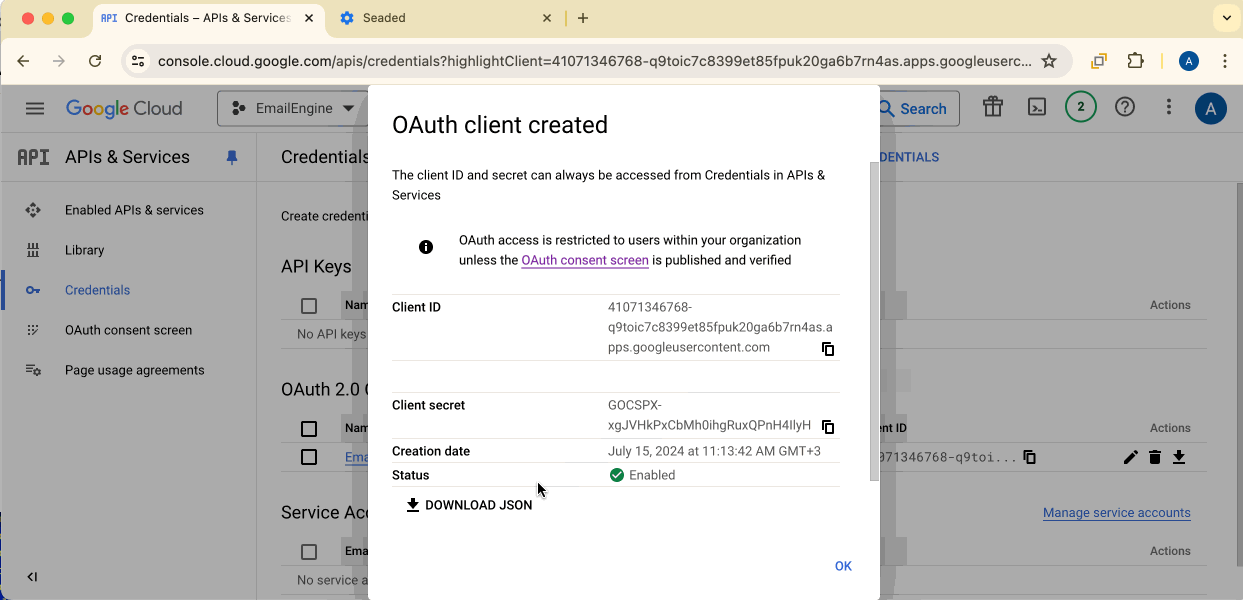
Click on the download button, and that's it; we have our credentials!
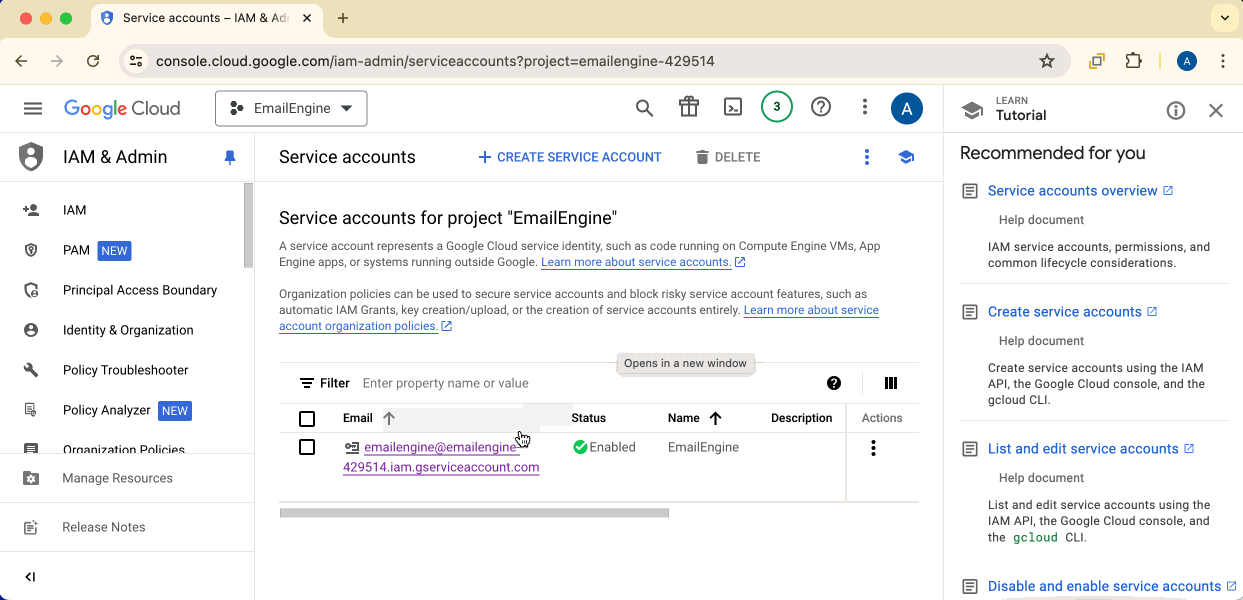
That's not it yet, though. The generated credentials are fine for connecting to email accounts, but we still can not process the required pub-sub subscription for webhooks. We would have to add a separate service account with Pub/Sub management permissions for this.
On the Credentials page, we would have to navigate to the Service Account management page and click the "Create Service Account" button."
When creating the actual Service Account credentials, we can use any name we like. The important part is to grant the correct role to the newly created credentials. The role must be "Pub/Sub Admin" or any other compatible role that allows managing pub-sub queues, topics, and IAM policies.

Once the Service Account is created, we need to generate keys to use it. Navigate to the "Manage Keys" page and add a new JSON key. The key file gets automatically downloaded.
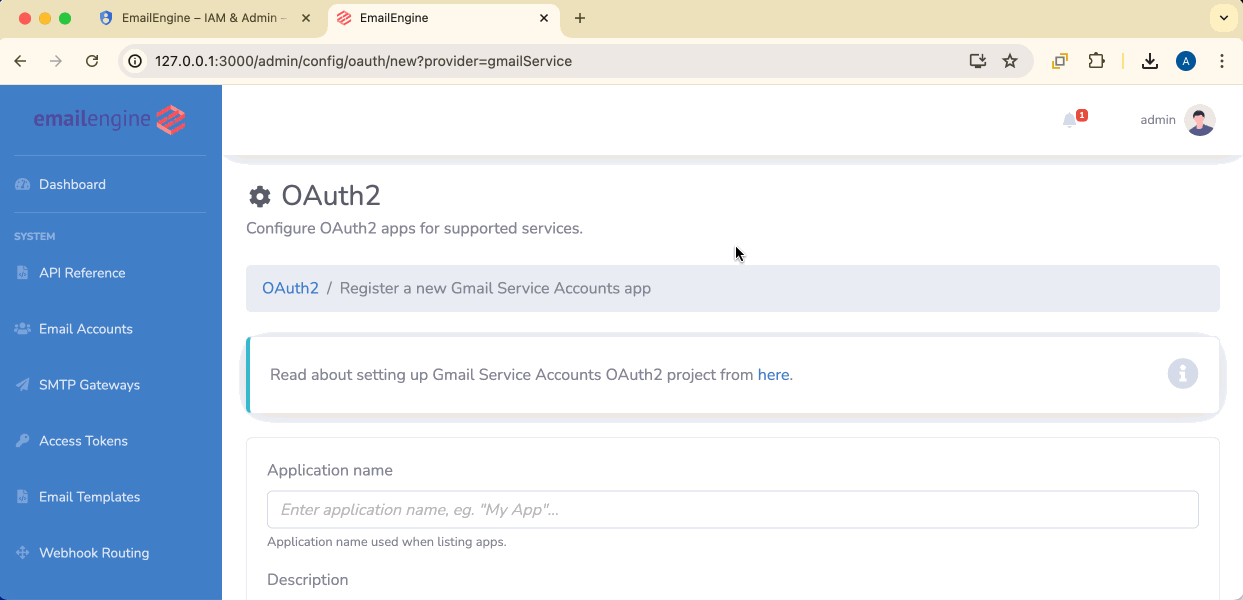
Next, we can add these credentials to the OAuth2 section on the EmailEngine configuration page. On your EmailEngine's dashboard page, navigate to "Configuration" → "OAuth2" and create a new "Gmail Service Accounts" application for managing webhook Pub/Sub queues.
Select the credentials file on the OAuth2 application form to fill in all OAuth2 secrets and variables. Just ensure you use the credentials file for the service account, not the user consent screen. You can differentiate between these files by looking at the file name – the user consent screen file starts with the "client_secret_" prefix, and the service account key file uses the service account name prefix.
For base scopes, select "Cloud Pub/Sub." Otherwise, EmailEngine does not know how to prepare the required queues and permissions.
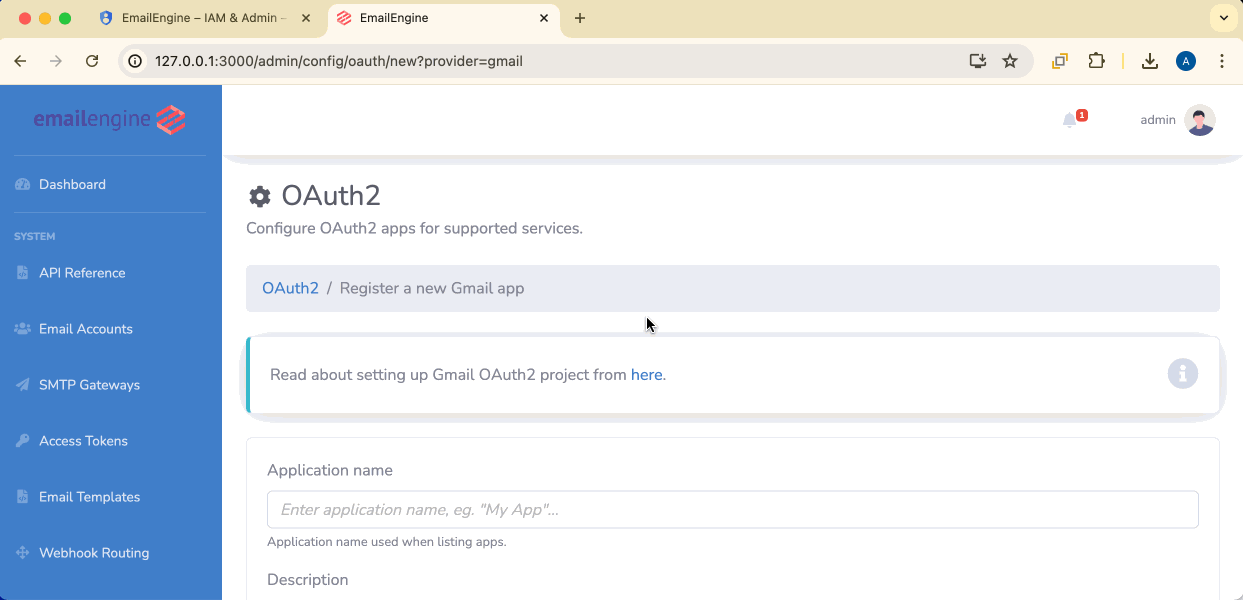
Now, once the webhook management app is created, we can use the user consent credentials to generate the actual OAuth2 app in EmailEngine. Navigate to "Configuration" → "OAuth2" and create a new "Gmail" application.
On the OAuth2 application form, enter the application name, mark the checkbox indicating that the app is enabled (otherwise, it does not show up on the authentication options page), and select the correct credentials file to fill in all OAuth2 secrets and variables.
NB! Make sure that the Redirect URL matches the value you used in the Authorised Redirect URIs field when setting up the OAuth2 application.
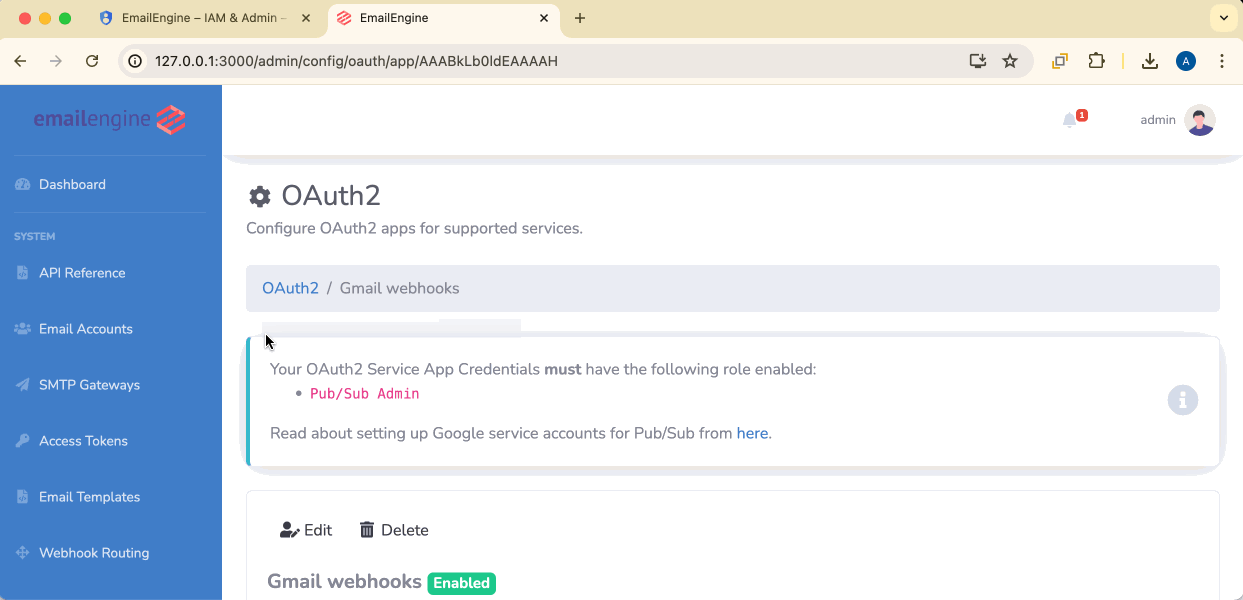
Next, make sure that the application base scope is "Gmail API" and select the previously generated webhook management app from the drop down list as the Service Account for managing webhook Pub/Sub. Click on the "Register app" button to complete application registration. Once this is done, the OAuth2 setup is complete.
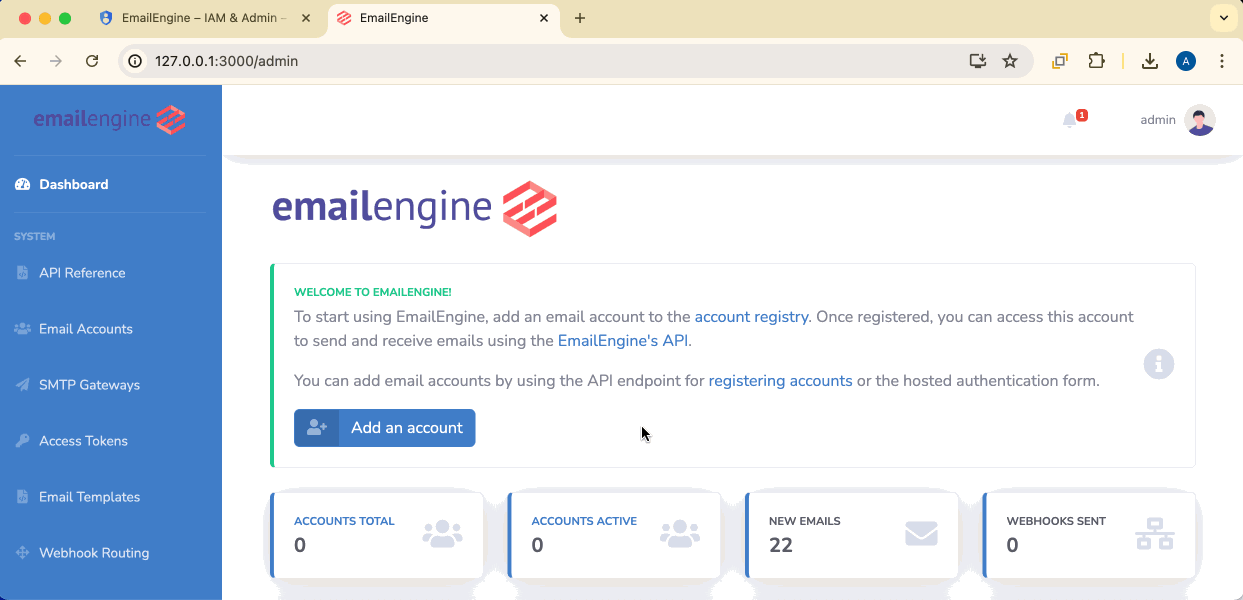
Now, we can test the setup out by adding an email account to EmailEngine. Click on the "Add account" to open the hosted authentication form page. Alternatively you can generate the authentication form link with the API. Click on the Sign in with Google button to initiate the OAuth2 consent form.
If you have any issues regarding adding email accounts to EmailEngine with OAuth2, check the OAuth2 application settings page in EmailEngine. If there are any application-specific misconfigurations (e.g., an invalid client secret value), you should see an error message about it.
Appendices
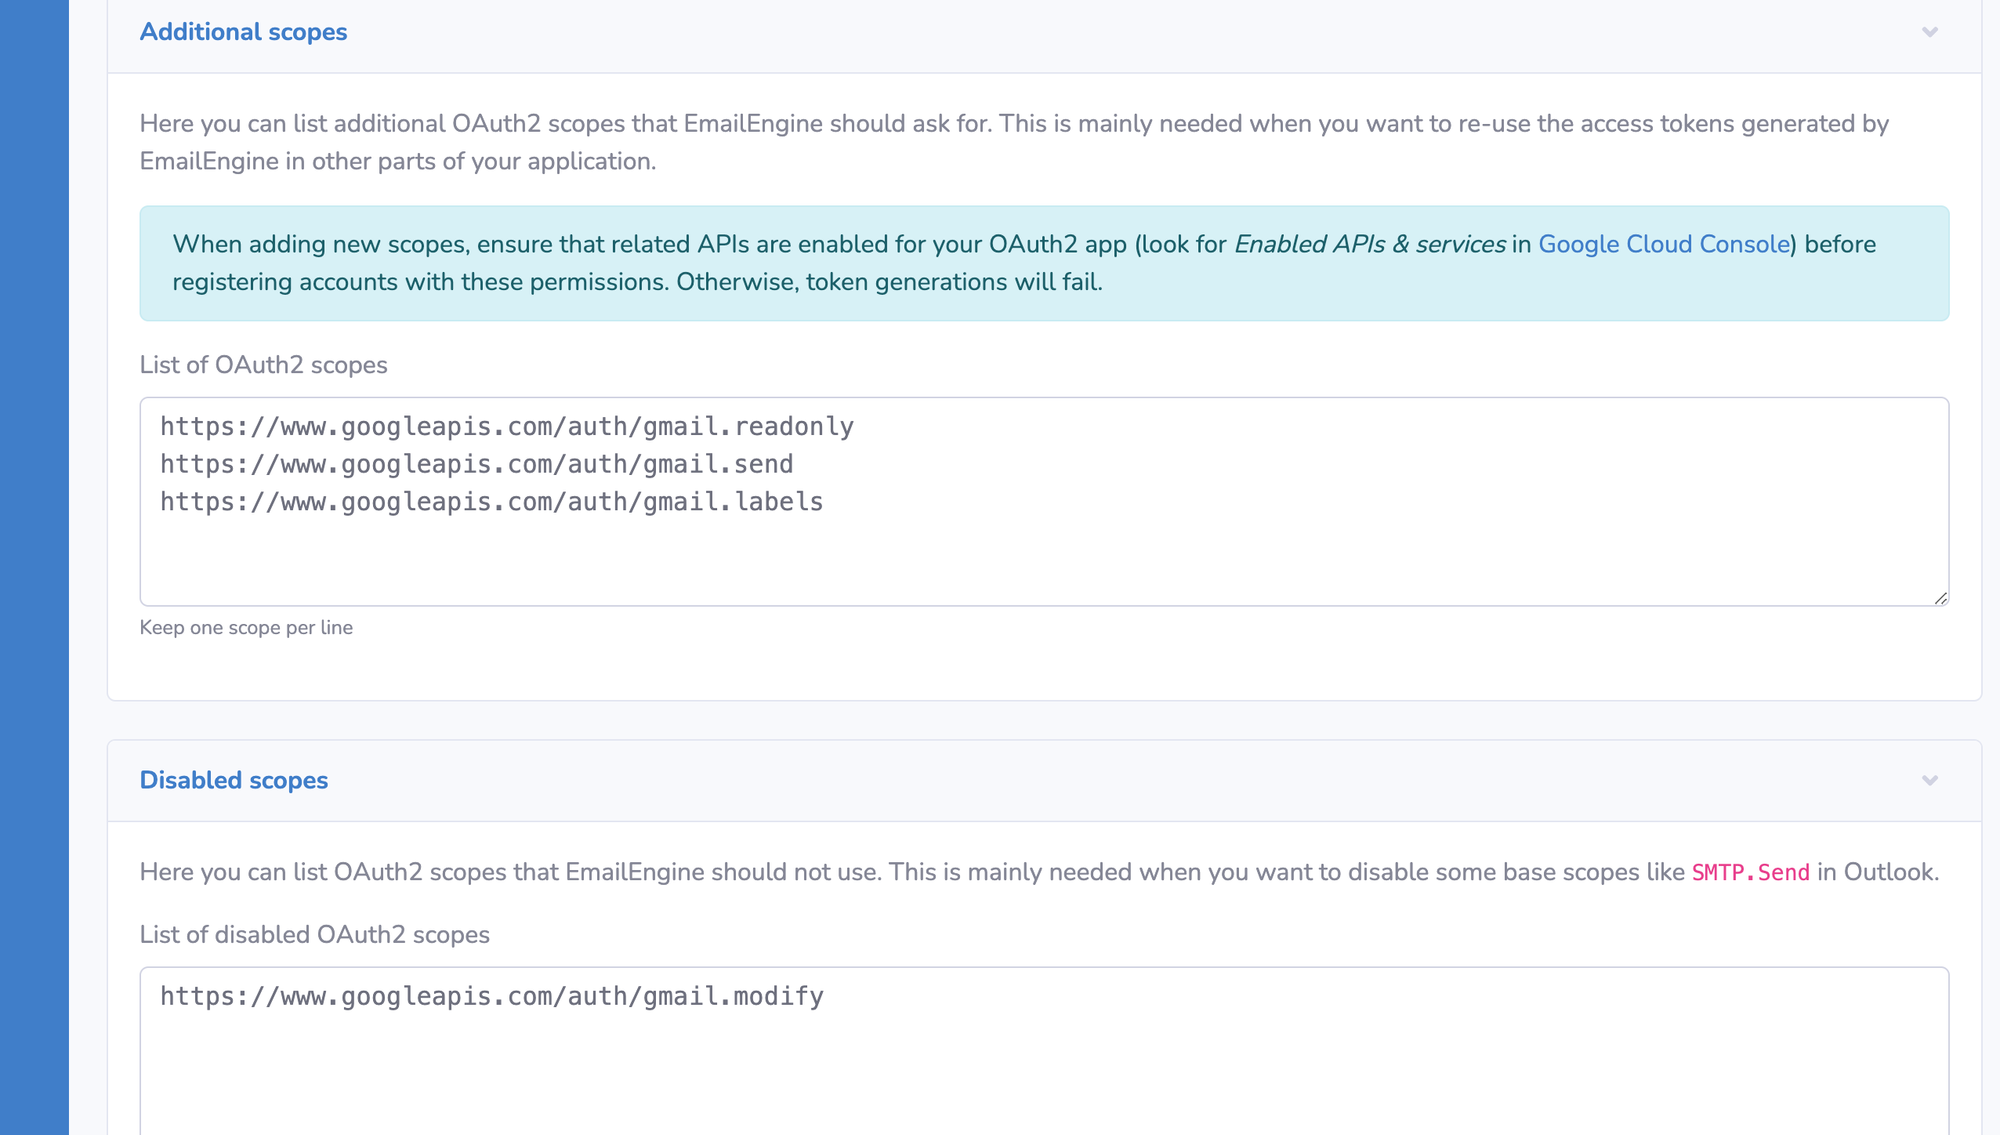
💡 Using Different Scopes Than gmail.modify
If you have a public OAuth2 application, Google might require you to use narrower scopes than gmail.modify (for example gmail.readonly, gmail.send, or gmail.labels). In EmailEngine, you can configure this by editing the OAuth2 application settings. The application form has two extra fields at the end: Disabled scopes and Additional scopes.
Add your preferred scopes to the Additional scopes field:
https://www.googleapis.com/auth/gmail.readonly
https://www.googleapis.com/auth/gmail.send
https://www.googleapis.com/auth/gmail.labels
Disable gmail.modify by adding it to the Disabled scopes field:
https://www.googleapis.com/auth/gmail.modify
When you create a new OAuth2 account, the permissions screen will only request these selected scopes.