Setting up OAuth2 with Outlook
In this post, I will show you how to set up an Outlook OAuth2 application that you can then use with EmailEngine to access or send emails.


EmailEngine has native support for Gmail and Outlook (Hotmail.com, MS365, and such) OAuth2 accounts. How to use OAuth2 with Gmail has been covered before. In this post, we will look at Outlook.
While EmailEngine supports both IMAP and MS Graph API as email backends, MS Graph API is only available in newer versions of EmailEngine (v2.44 or newer).
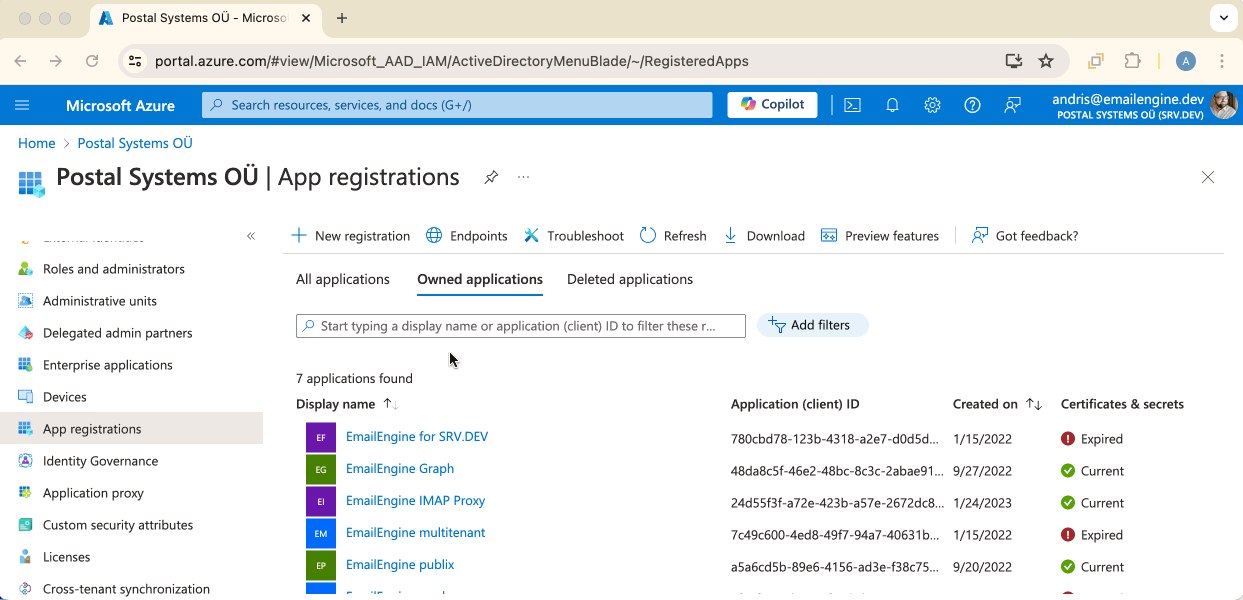
To start, we need to open Azure Active Directory and navigate to Microsoft Entra ID → App Registrations.
Just as with Gmail, we need to create an application that will manage the credentials, so click on the "New registration" button.
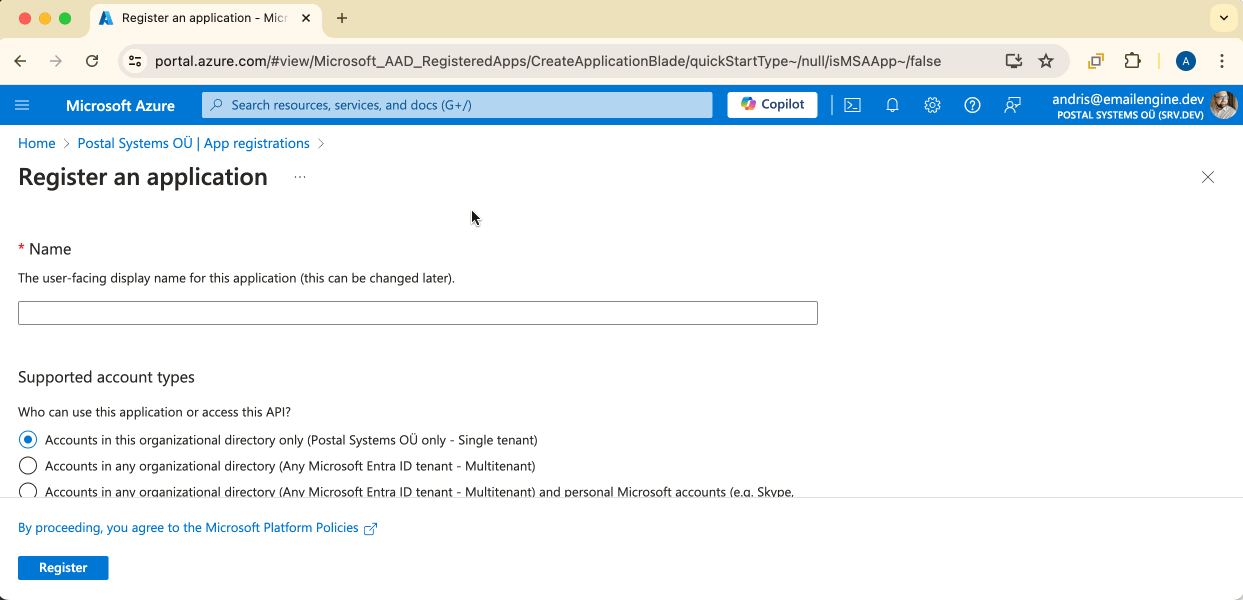
To set up the application, there are three values to fill in. First is the application name. Whatever you choose here will be shown later to the users in the authorization form, so make it something easy to understand.
Then, we need to select which kind of account types we will support. For example, if we limit this to only organizational directory accounts, then free @hotmail.com-accounts can not be used.
Next is the OAuth redirect URL. Once the user has consented, Outlook will redirect the user to this URL with appropriate tokens, so it must point to the EmailEngine's OAuth handling page. Basically, it's the app URI + "/oauth", e.g., "http://localhost:3000/oauth". Select "Web" as the platform.
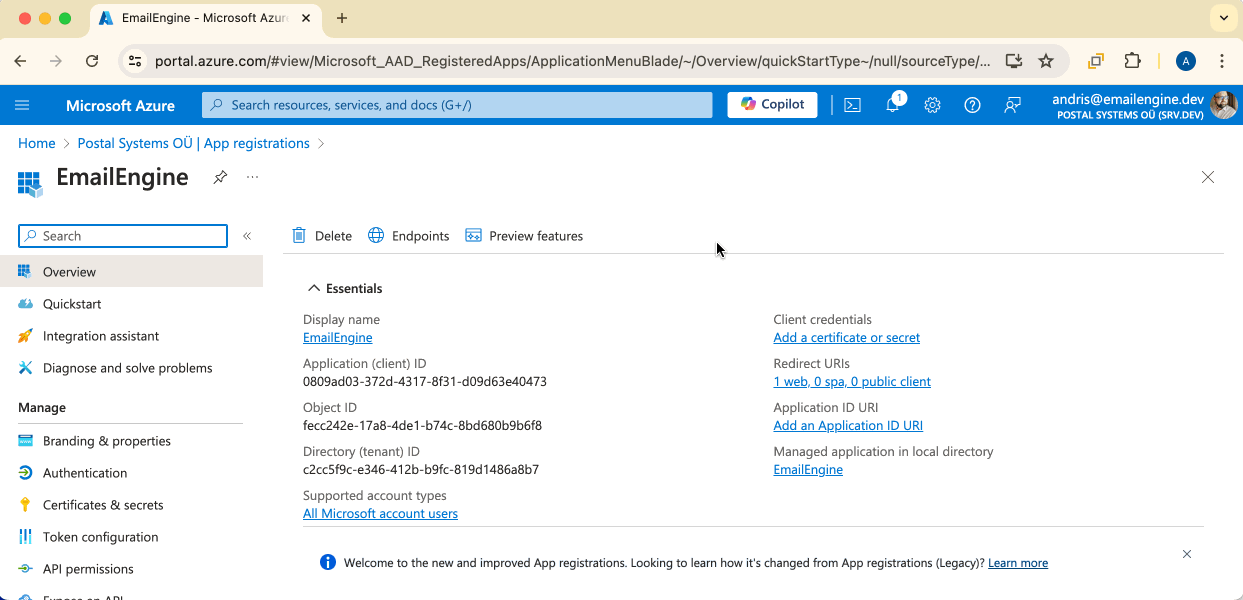
Now we have our application, and we can already get the first required identifier, the "Application ID" that we later need to set up OAuth2 support in EmailEngine.
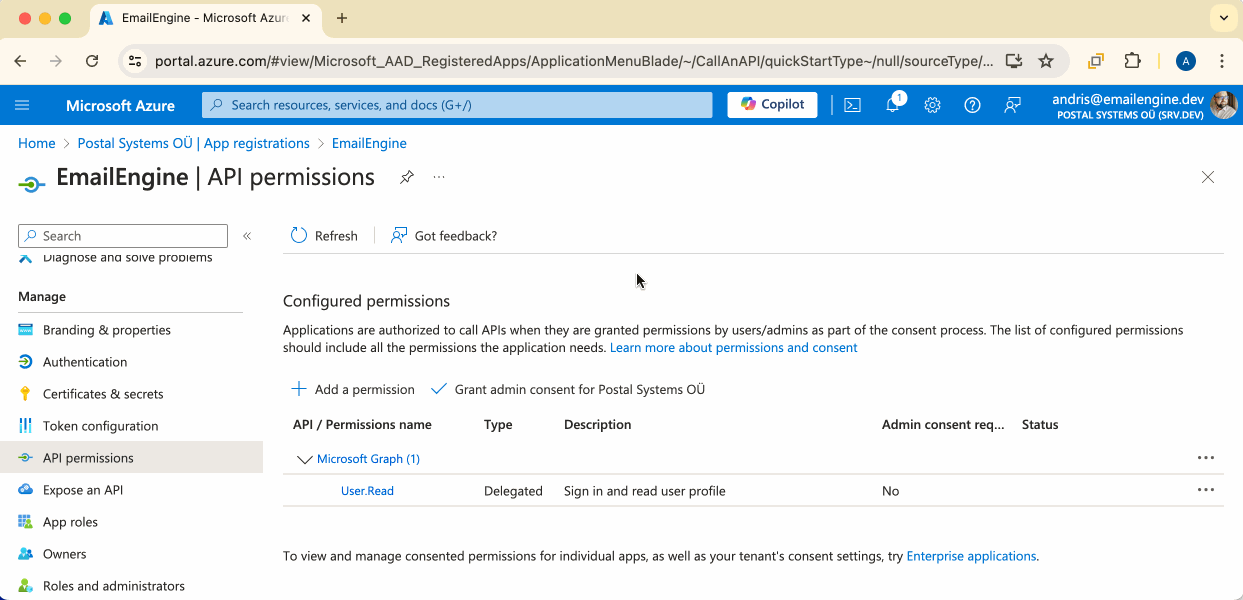
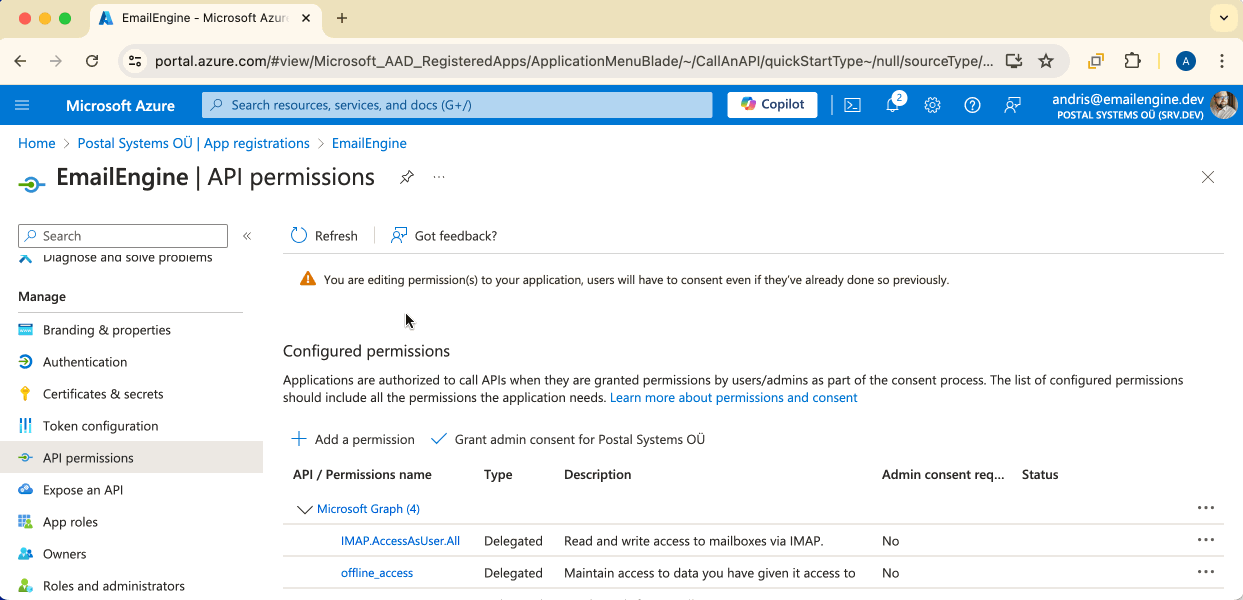
To continue setting up the application, click on the "API permissions" menu link.
Here, on the API permissions page, we can set up the permissions our application requires. By default, there's only "User.Read". We can't do much with this permission, so click on the "Add a permission" button to add the rest.
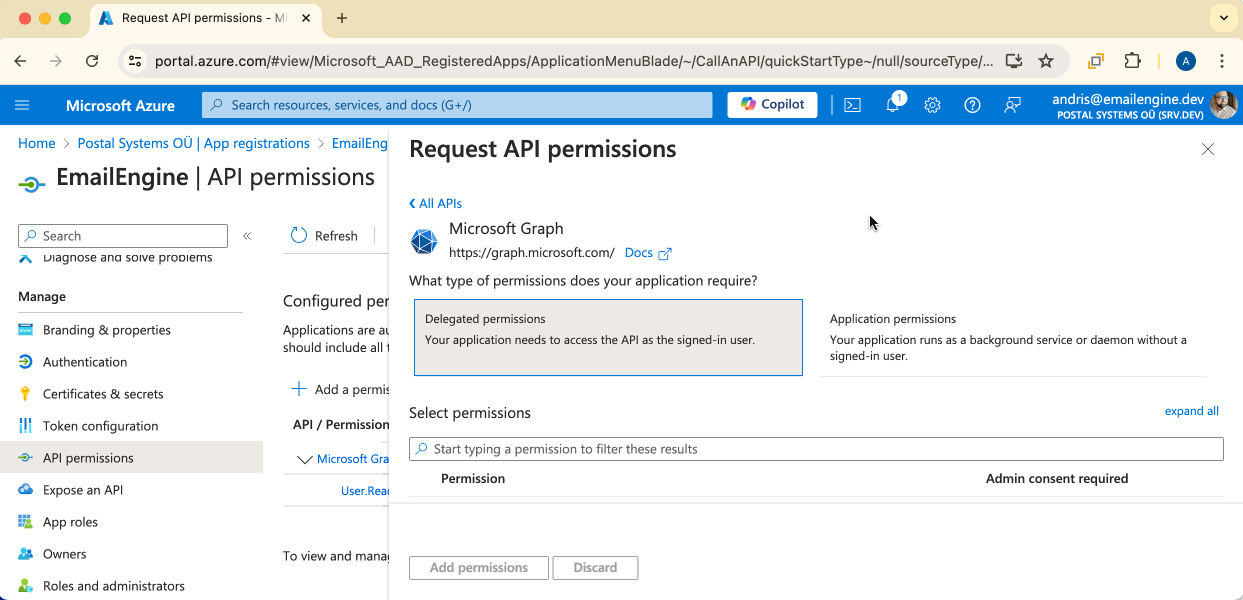
All the permissions we need can be found in the default "Microsoft Graph" section, so click on the large button to continue. Depending on your account type, you might also be presented with a choice between delegated and application permissions. Choose the delegated option.
Now, we can add the required permissions.
The following depends on your approach - do you want to use IMAP and SMTP as the email backend, or do you want to use MS Graph API?
If you want to use IMAP and SMTP, then you would need to search for and mark the following permission checkboxes:
"IMAP.AccessAsUser.All""SMTP.Send""offline_access"
Just typing the first characters into the search box should reveal the permission we are looking for.
On the other hand, if you want to use MS Graph API, then the correct scopes to add would be:
"Mail.ReadWrite""Mail.Send""offline_access"
In both cases, you would have to select offline_access. This scope allows EmailEngine to renewing access tokens in the background.We should see all the permissions we require listed on the overview page. If everything seems fine, then we are done with this topic and can continue. Click on the Certificates & secrets menu link.
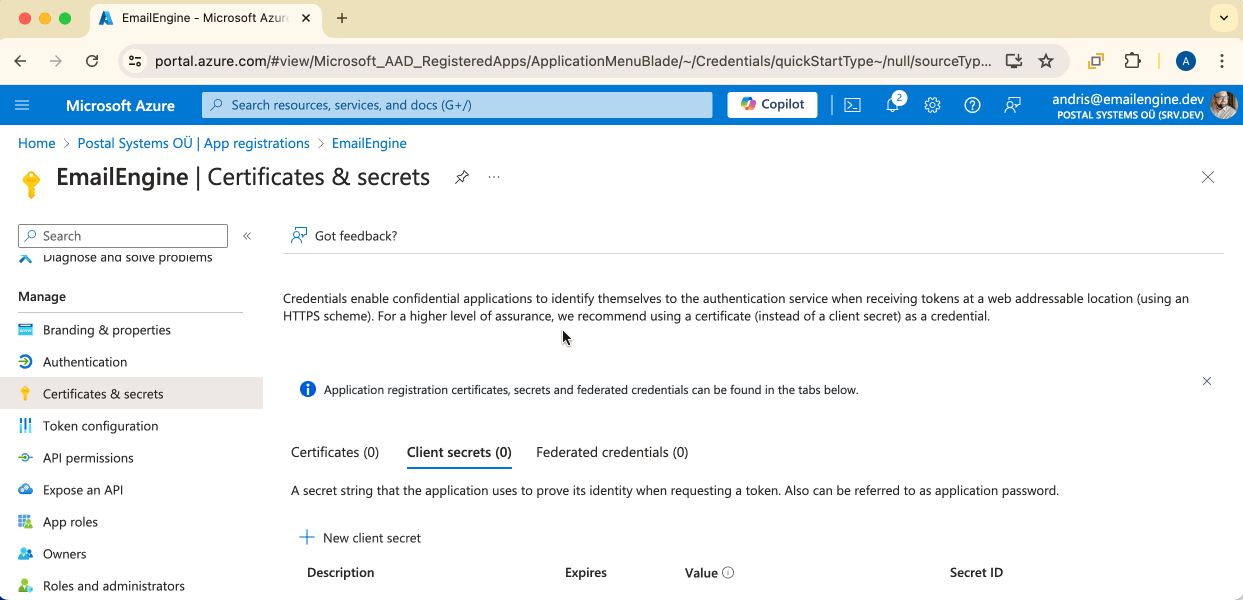
This is the main part where we can generate a client secret needed by EmailEngine. Click on the "New client secret" button to create one.
On the opened modal window, set some kind of name for the new secret and choose an expiration time you're fine with.
Once the credentials are created, we should see the actual secret value. Make sure to copy this value (the one in the "Value" box), as it's not shown anymore once you close this page. This is the "Client Secret" for EmailEngine.
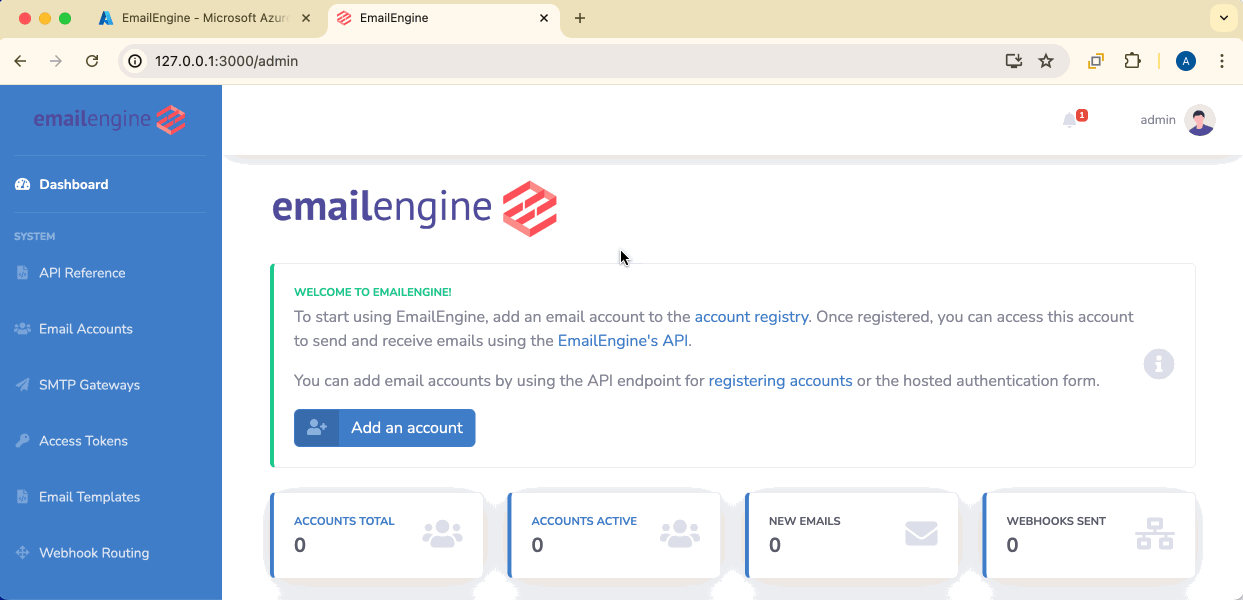
We have all the values we need, so we can start configuring EmailEngine to support Outlook OAuth2 authentication. On your EmailEngine's dashboard page, navigate to "Configuration" → "OAuth2" and create a new "Outlook" application.
Use the Application Id and Client secret values you got from the Azure portal. The redirect URL must be exactly the same one you used when registering the application.
"Account types" value depends on the type of accounts your application supports. For example, "consumers" is for Microsoft accounts (e.g., Hotmail). "organizations" only allow MS365 accounts, and "common" supports both. If you want to support a specific organization only, you can use the Directory ID value for that organization, like "f8cdef31-a31e-4b4a-93e4-5f571e91255a".
Also, make sure to mark the "Enable this app" checkbox or the Outlook option does not become available in hosted account setup forms.
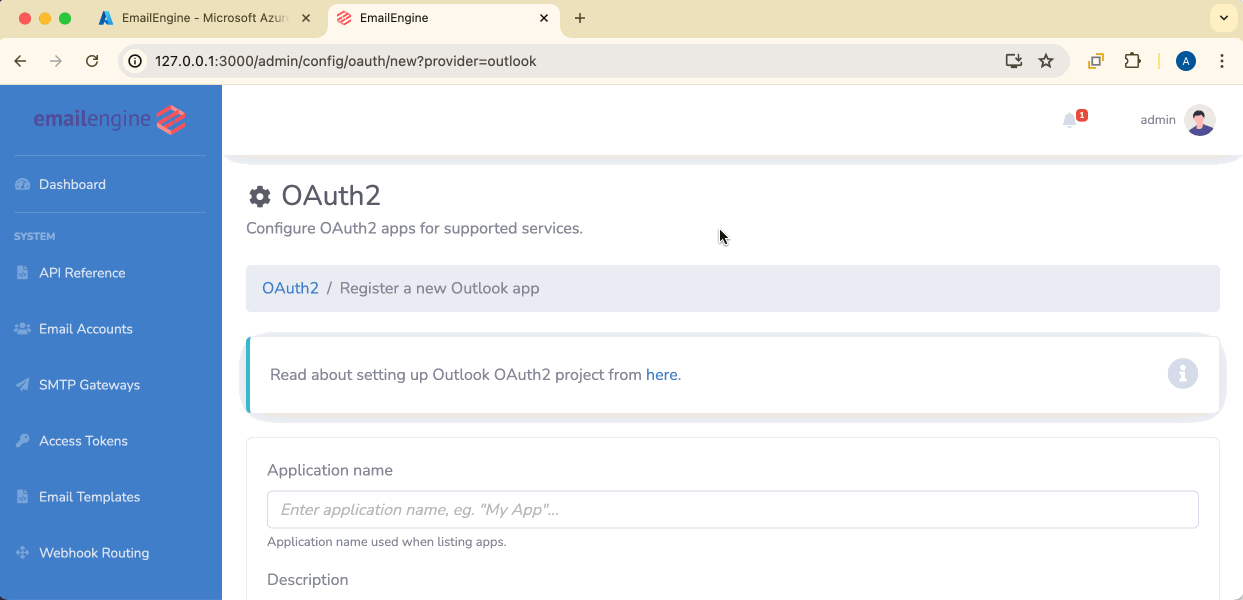
The same form asks us to select the "Base scope" for the application. There are two options:
- IMAP and SMTP
- MS Graph API
You would have to choose the base scope depending on which scopes you defined when registering the Azure application. If you went with IMAP.AccessAsUser.All, and SMTP.Send, then the correct base scope is "IMAP and SMTP." If you went with Mail.ReadWrite, and Mail.Send, then the correct base scope would be "MS Graph API."
Now, we can test the setup out by adding an email account to EmailEngine. Click on the "Add account" to open the hosted authentication form page. Alternatively, you can generate the authentication form link with the API. Click on the "Sign in with Microsoft" button to initiate the OAuth2 consent form.
That's pretty much it, then. If all succeeded, the account should be listed and should switch into the"connected" state in a moment.
IMAP and SMTP permissions
The following only applies if the base scope is IMAP and SMTP.
If you are managing an MS365 organization and EmailEngine cannot connect to IMAP or SMTP of the email accounts you manage, you might need to enable support for these protocols manually. Navigate to https://admin.microsoft.com/ and enable IMAP and SMTP, as shown in the image below.