Setting up Gmail OAuth2 with IMAP and SMTP
In this post I'm going to show you how to set up a Gmail OAuth2 application for IMAP and SMTP and to generate credentials to use with EmailEngine.

In this post, I'll show you how to set up a Gmail OAuth application and generate credentials to use with EmailEngine. EmailEngine will then use these credentials to access accounts hosted in Gmail and allow REST queries against these accounts.
This post covers setting up Gmail OAuth2 for IMAP and SMTP. If you would like to use Gmail API instead, see this post.
There are going to be a lot of screenshots, so beware, things will change over time, and if you're reading this post in the future, then these screenshots might not match reality anymore. The general concept has remained the same for the last 10 years, though, so I guess it'll stay this way for now.
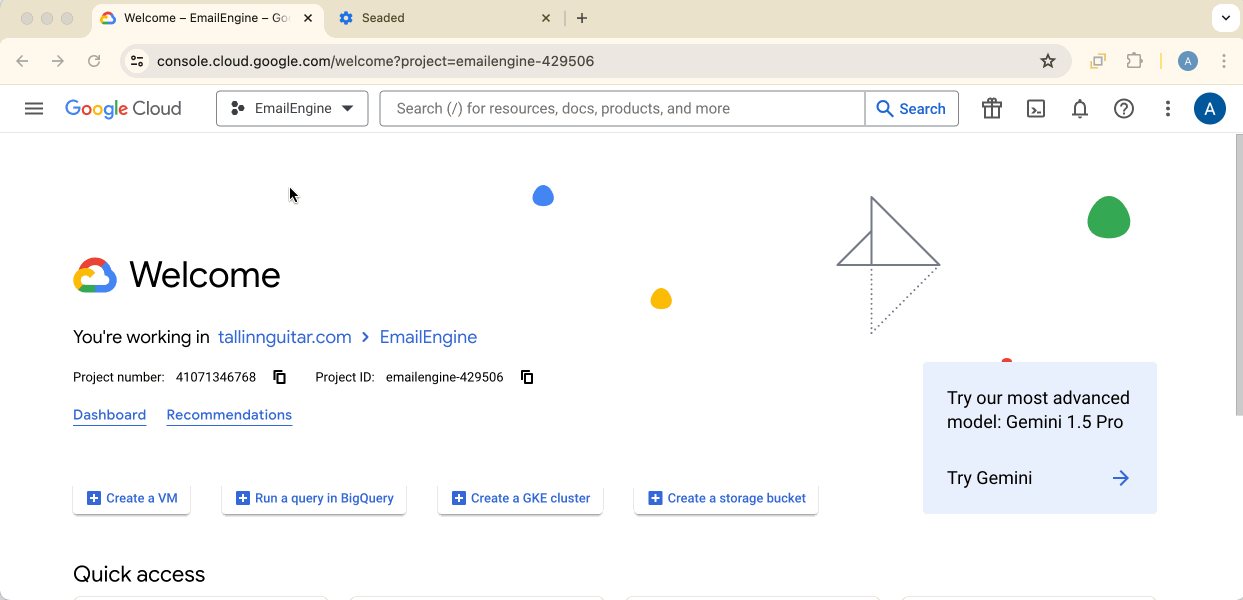
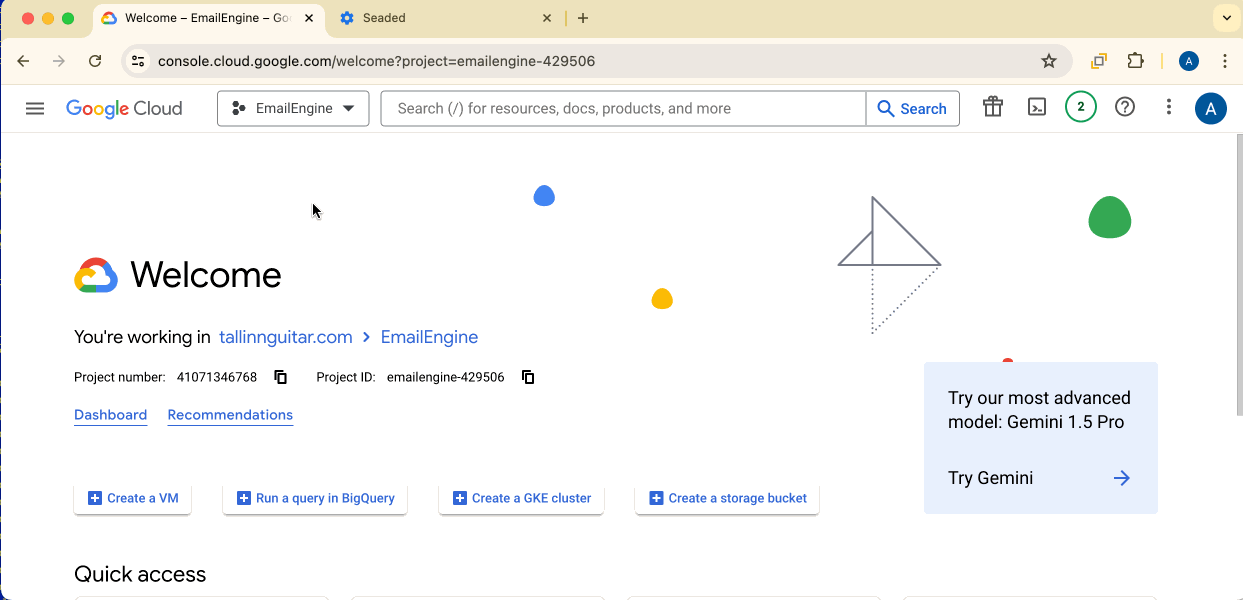
To start, go to Google Cloud Console and open the project menu in the top navbar. If you have no projects, the menu button will say "Select a project"; otherwise, it will display the name of the last opened project.
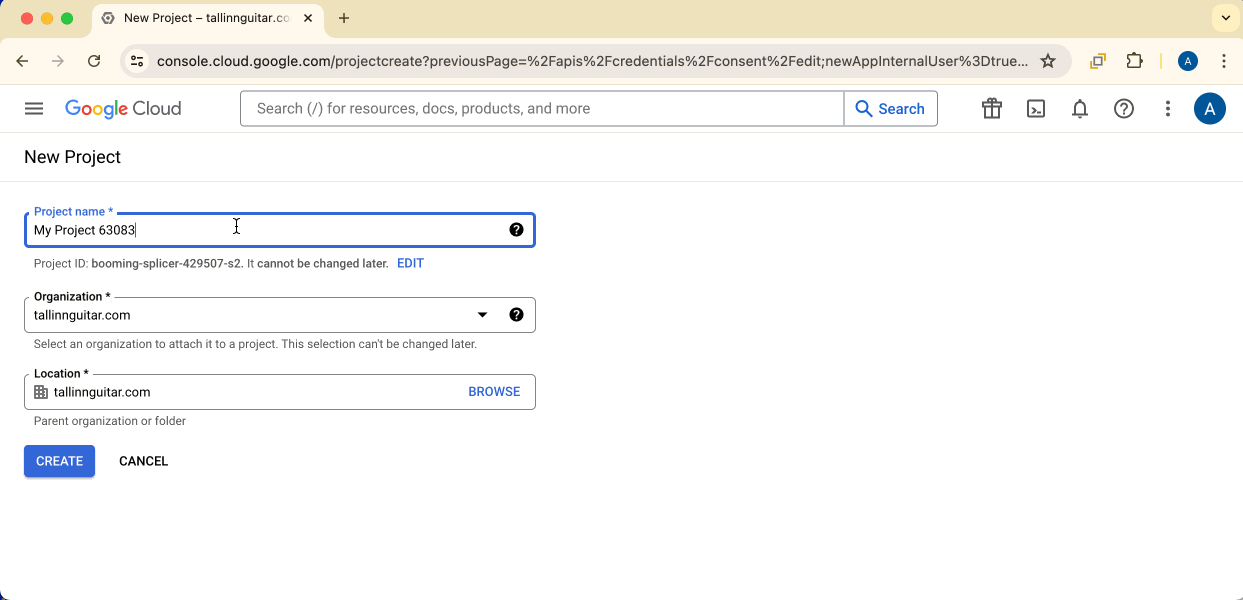
Click the "New project" button on the opened modal to start.

On the project settings screen, you can only name your project; all other fields are prefilled and can not be changed. We'll use "EmailEngine" as the project name in this example.
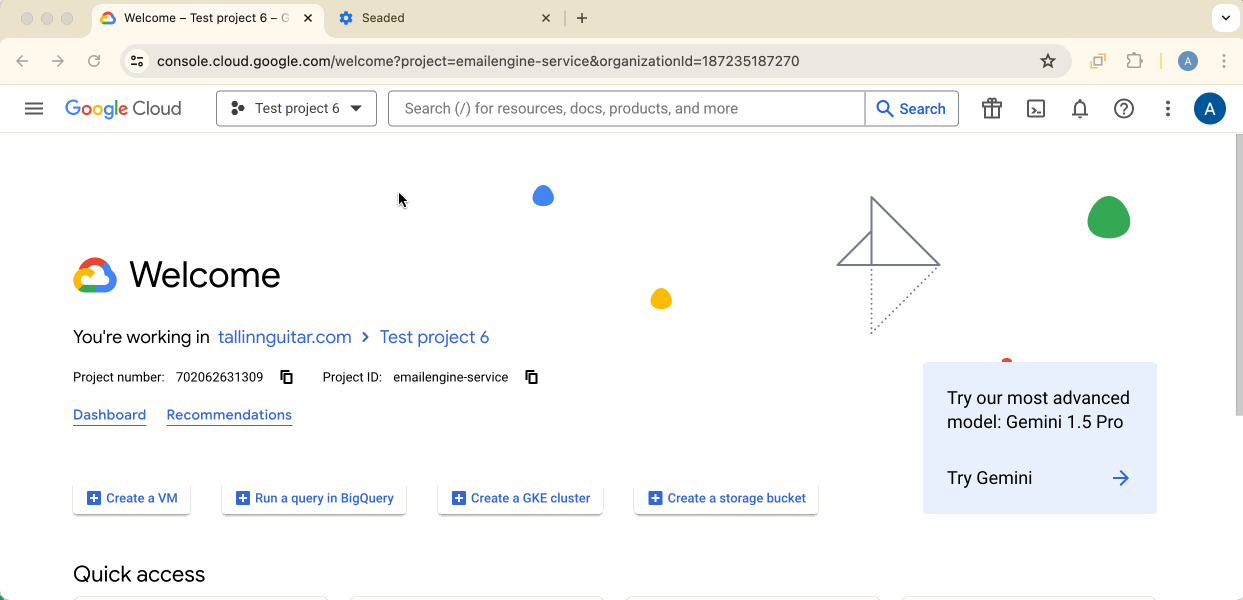
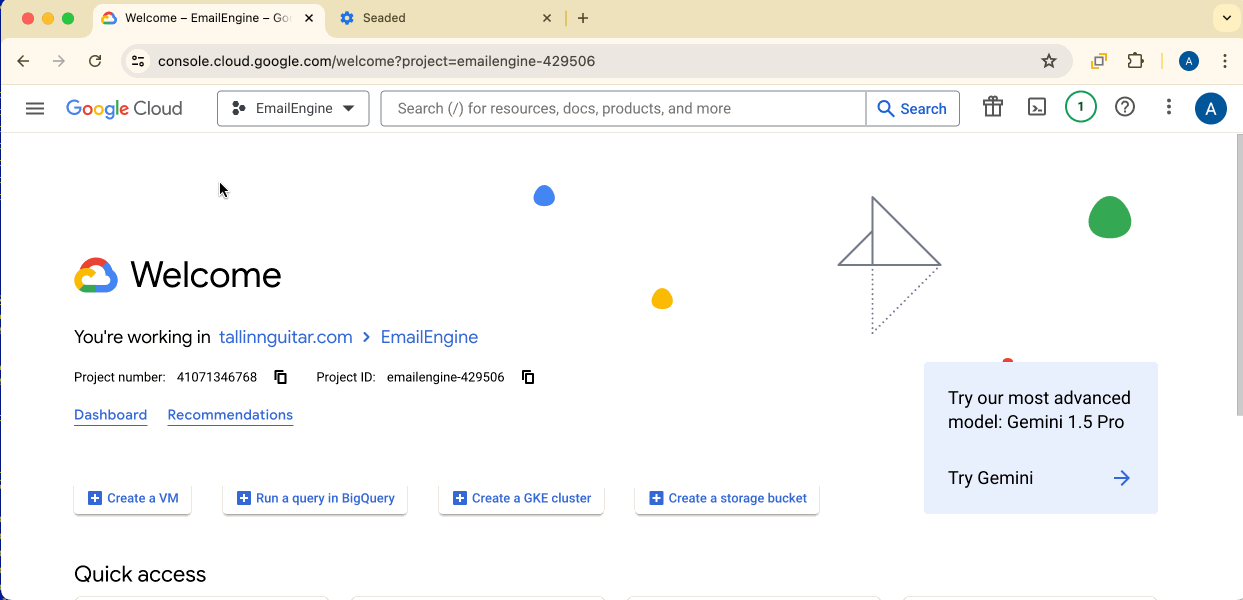
It takes time to finish creating the project, so we must wait until it has actually been created. After that, we can select it from the project menu.
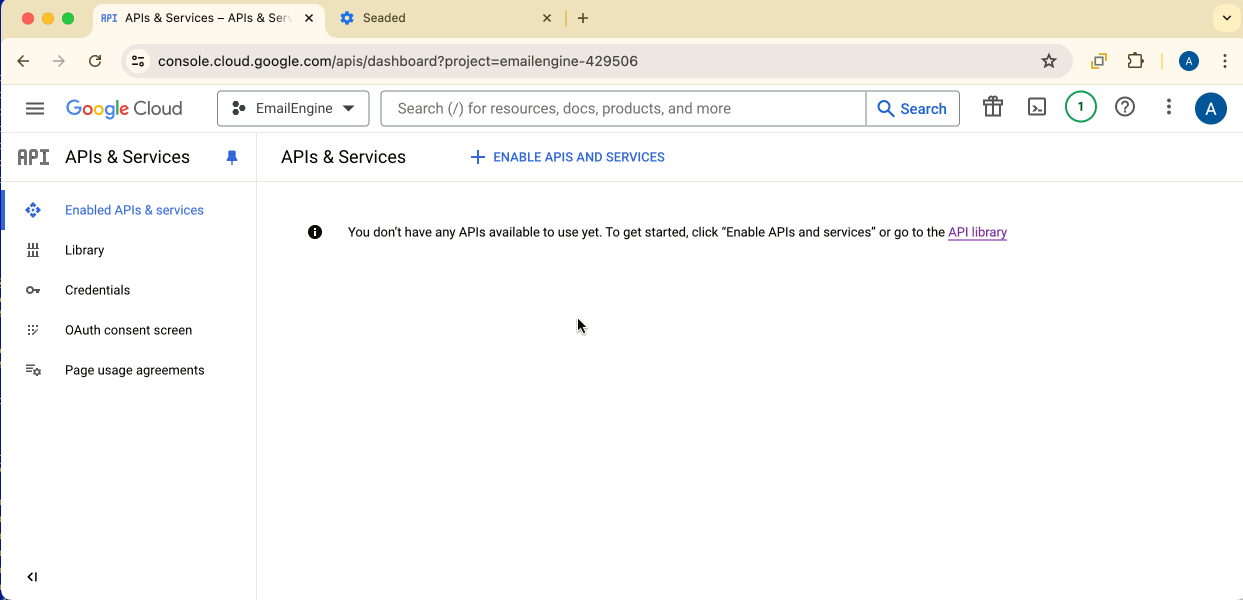
The newly created project is empty at first, so we have to configure it. First, we will need to enable the APIs that we require. Click on the top-left hamburger menu, find "APIs & Services," and select "Enabled APIs & Services."
In any case, we need to find and enable Gmail API for our project. If we want to use IMAP and SMTP for email access, then that's it. If we want to use Gmail API for email access, we must also find and enable the Cloud Pub/Sub API. We use IMAP and SMTP configuration in this tutorial, so enabling only Gmail API is good enough.
It might be a bit confusing to understand what it means to enable and use Gmail API in this context. Enabling Gmail API means that our new project can access Gmail email accounts no matter the protocol. By default, EmailEngine uses IMAP and SMTP to access emails, and Gmail API is only used to generate the OAuth2 access token required to authenticate IMAP and SMTP sessions. As an alternative, EmailEngine can also use Gmail REST API as the email access protocol. In this case, it does not create IMAP or SMTP sessions and instead runs all requests against Gmail using Gmail REST API endpoints. It is slightly more complex to set up the Gmail REST API project for EmailEngine as, unlike with IMAP, where EmailEngine can detect changes by itself, you would also have to set up a Cloud Pub/Sub project that would mediate changes on the email account to EmailEngine. Otherwise, EmailEngine would not know when to send webhook notifications about new or deleted emails.
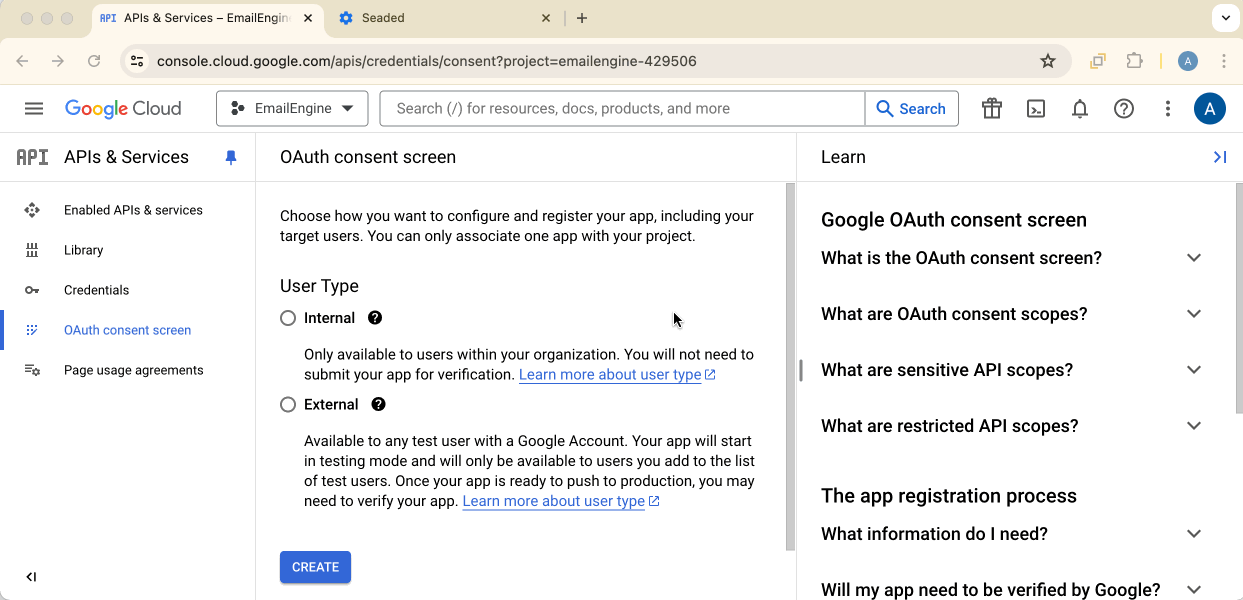
Next, we can start configuring the user consent screen. This is the web page displayed to users when they want to give EmailEngine access to their email accounts. Click on the top-left hamburger menu, find "APIs & Services," and select "OAuth consent screen."
Now we have to decide which kind of users we give access to. In this section, we select "Internal" so that only accounts from your own organization can be used. This is great for testing and organization-specific apps but not for public apps, as there is no way to add accounts from other Google Workspace organizations or free @gmail.com-accounts. Selecting an "external" application would be better for production, but it would require a verification process outside the scope of this tutorial.
App name again, we'll go with the project's name, which is "EmailEngine." We also need to provide support and developer email addresses. Other project-related fields, like the homepage, etc., are required for production, not for testing, but we'll fill these out in any way.

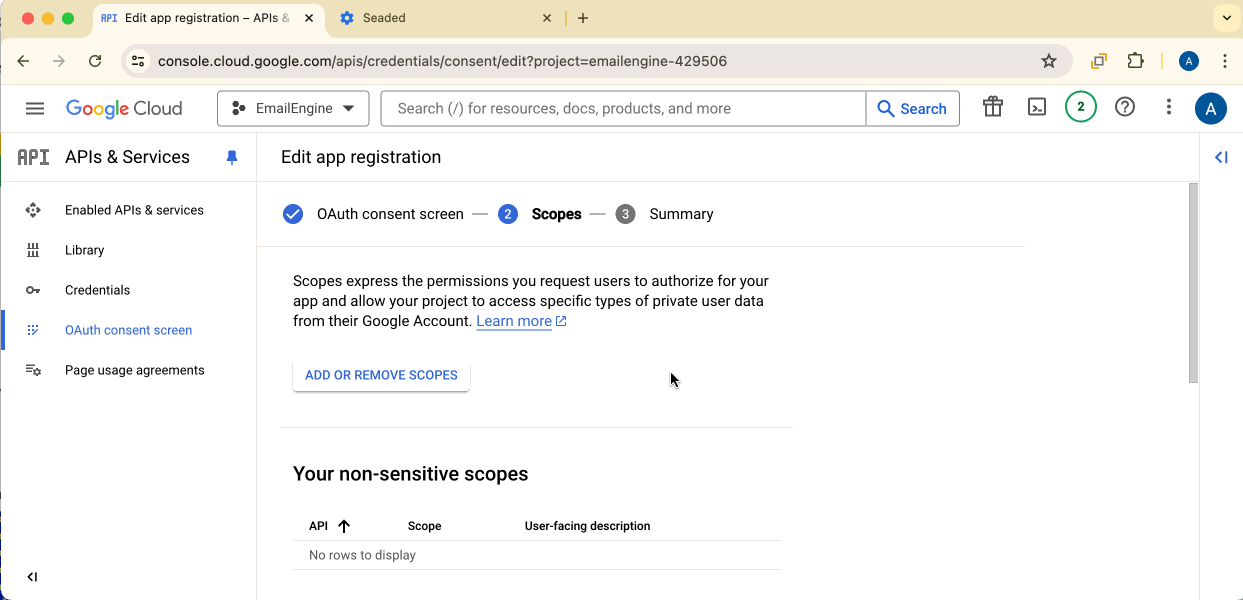
Click on the "Add or remove scopes" button and find "https://mail.google.com/" from the list. Check it and click on "Update" to apply the changes.
The "https://mail.google.com/" scope is required for IMAP and SMTP. If we would like to use Gmail REST API instead, then the correct scope would be "gmail.modify". Check the EmailEngine documentation to configure EmailEngine to use the Gmail REST API.
Scroll down to the end of the page and click on the "Save and continue" button to finish setting up the user consent screen.
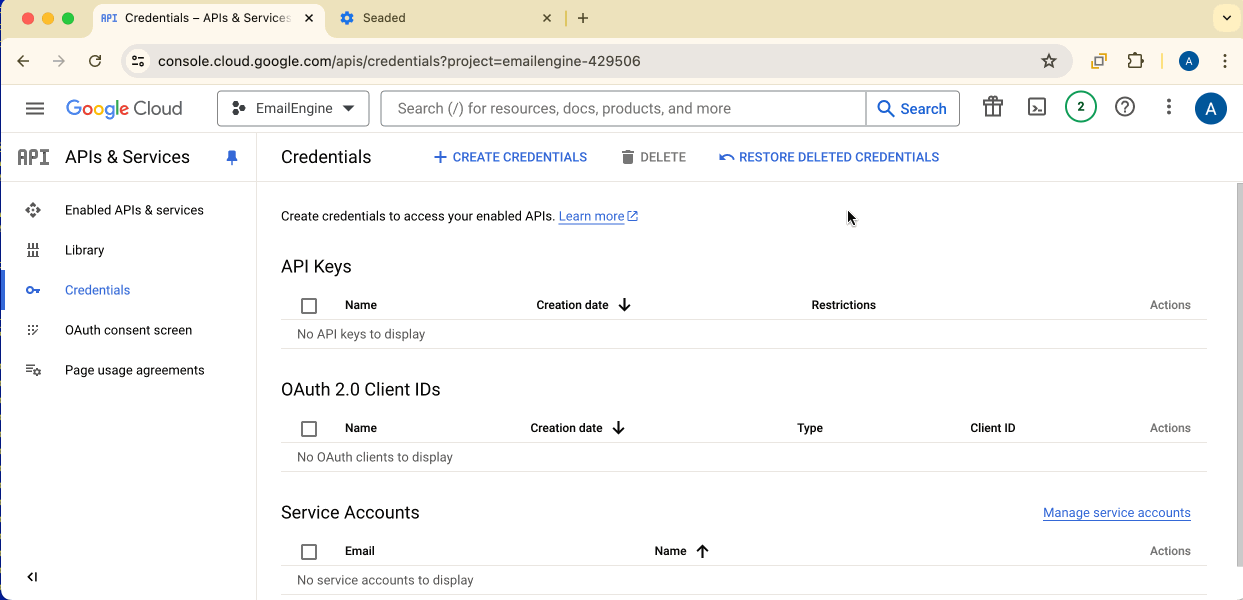
Now that our app is configured, we need to create some credentials for EmailEngine. Navigate to the "Credentials" page in the "APIs & Services" section.
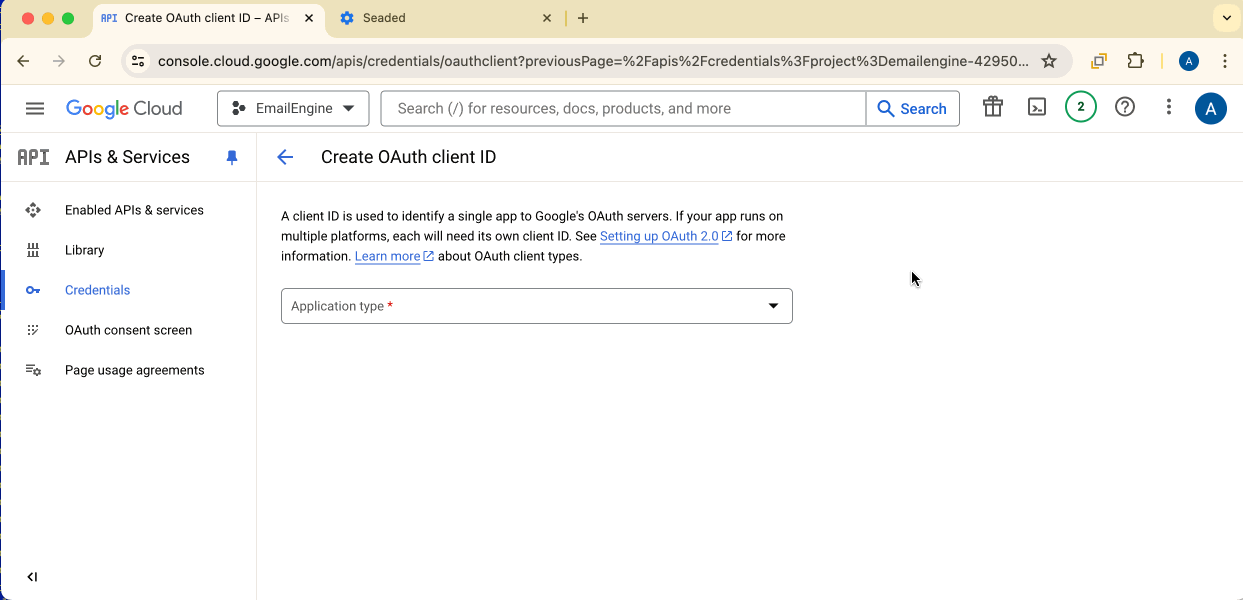
The credentials list is empty at first, so we need to create some by clicking on the "Create credentials" button and then selecting "OAuth client ID" from the drop-down list.
The application type is "Web application". We also need to provide some URIs. First is the application URI without any path part. The default for EmailEngine is "http://127.0.0.1:3000," but you might have something else, depending on your setup.
Next is the OAuth redirect URL. Once the user has consented, Google will redirect the user to this URL with appropriate tokens, so it must point to the EmailEngine's OAuth handling page. Basically, it's the app URI + "/oauth", e.g., "http://127.0.0.1:3000/oauth".
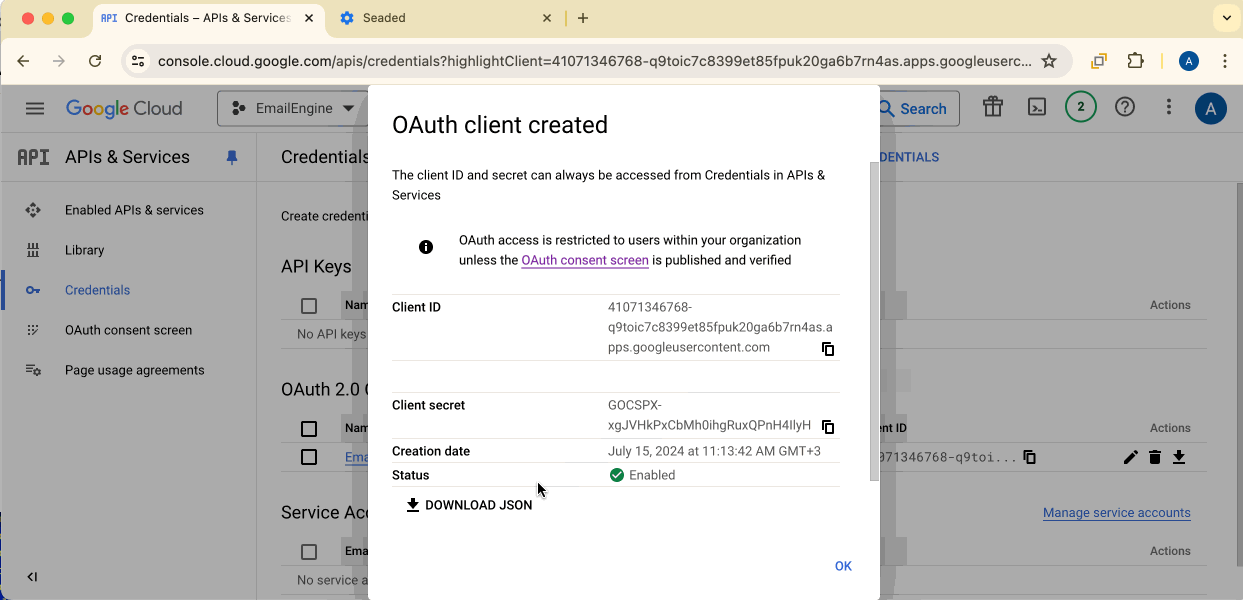
Click on the download button, and that's it; we have our credentials!
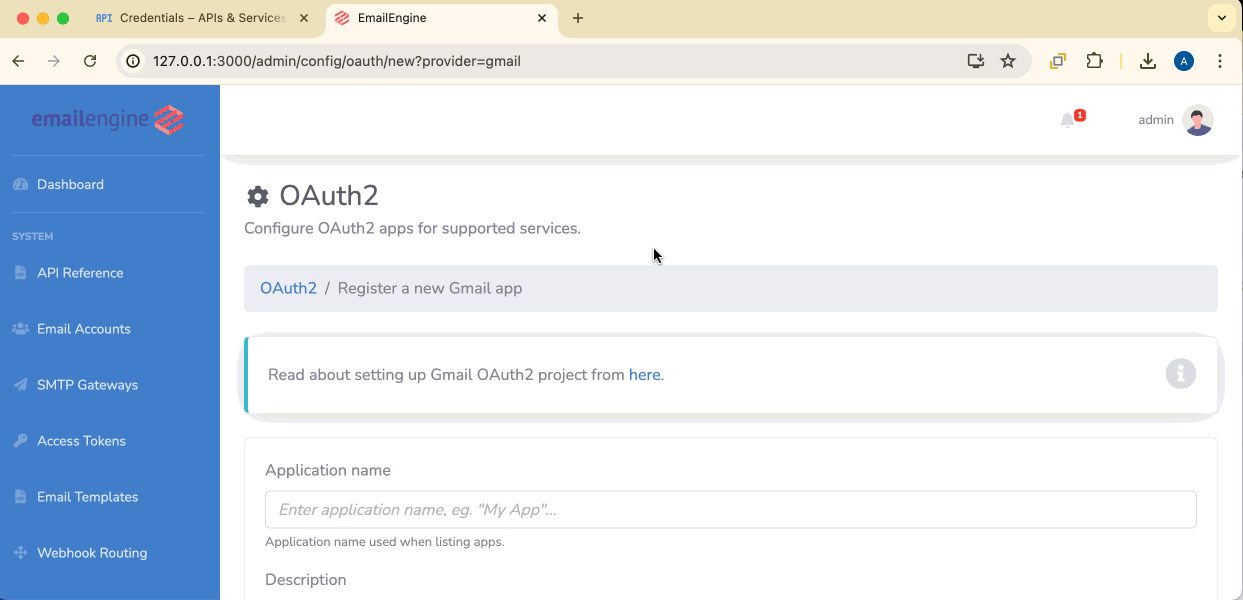
Next, we can add these credentials to the OAuth2 section on the EmailEngine configuration page. On your EmailEngine's dashboard page, navigate to "Configuration" → "OAuth2" and create a new "Gmail" application.

On the OAuth2 application form, enter the application name, mark the checkbox indicating that the app is enabled (otherwise, it does not show up on the authentication options page), and select the credentials file to fill in all OAuth2 secrets and variables.
NB! Make sure that the Redirect URL matches the value you used in the Authorised Redirect URIs field when setting up the OAuth2 application
Next, make sure that the application base scope is "IMAP and SMTP," and click on the "Register app" button to complete application registration. Once this is done, the OAuth2 setup is complete.
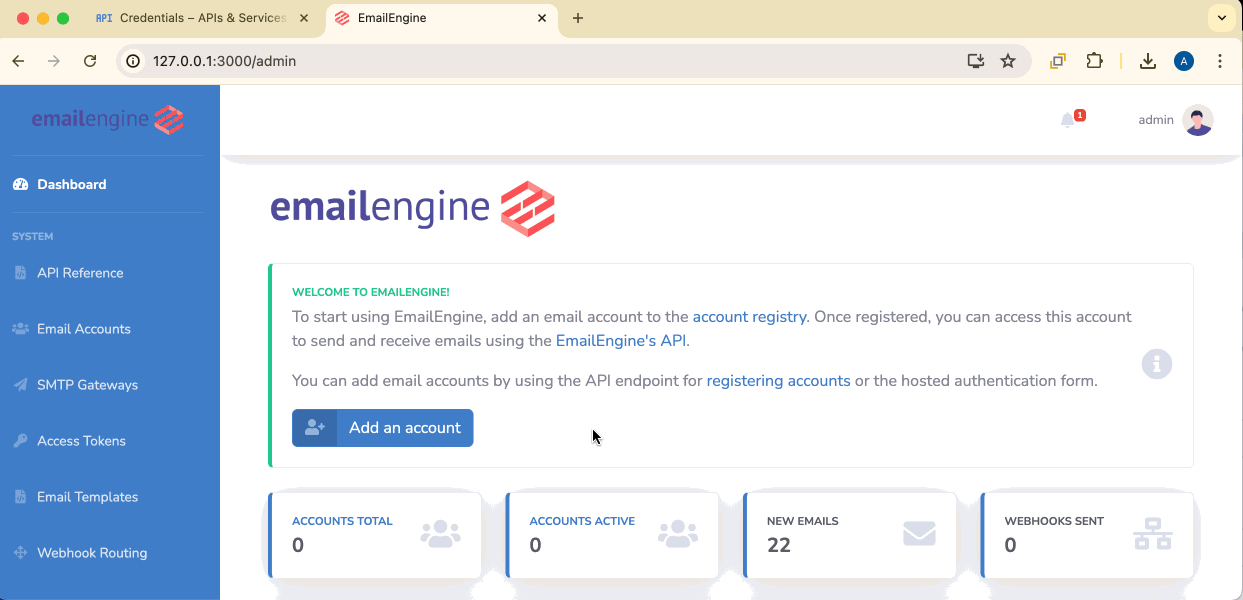
Now, we can test the setup out by adding an email account to EmailEngine. Click on the "Add account" to open the hosted authentication form page. Alternatively you can generate the authentication form link with the API. Click on the "Sign in with Google" button to initiate the OAuth2 consent form.
If you have any issues regarding adding email accounts to EmailEngine with OAuth2, check the OAuth2 application settings page in EmailEngine. If there are any application-specific misconfigurations (e.g., an invalid client secret value), you should see an error message about it.