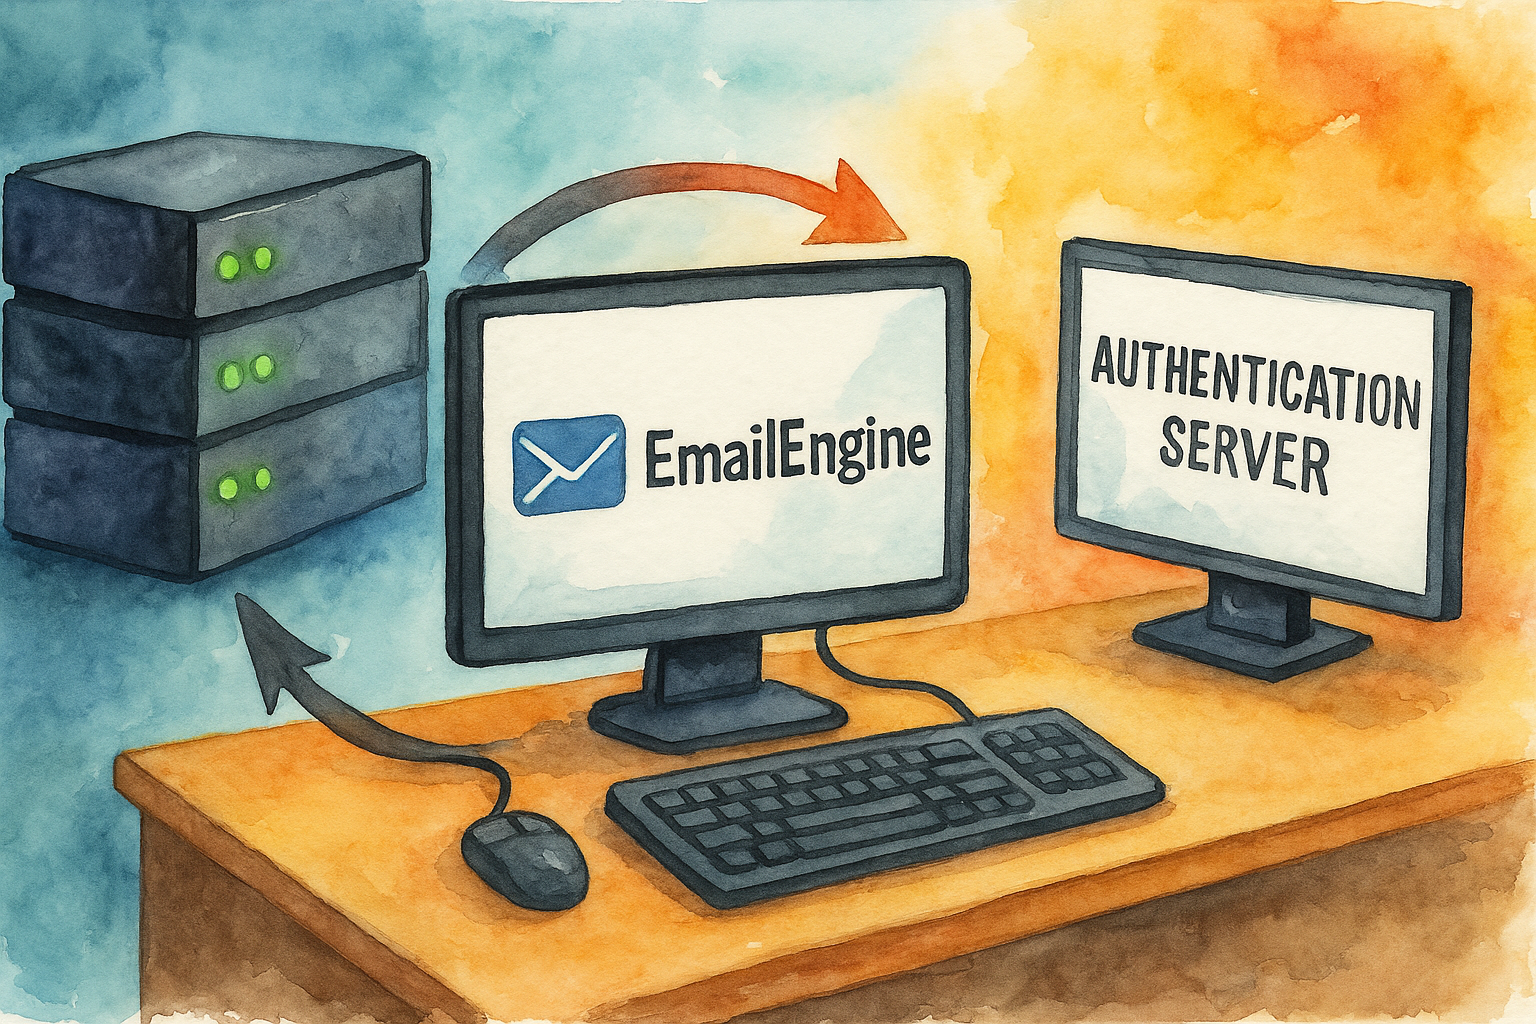
Using an authentication server

The easiest way to use OAuth2 with EmailEngine would be to use the hosted authentication form feature. EmailEngine would take care of getting user permissions and renewing access tokens. However, having EmailEngine manage everything is not always desirable. For example, you already use OAuth2 integration in other parts of your app and do not want to ask the user for permission twice.
If you do not want to use EmailEngine's OAuth2 flow but want to manage everything yourself, then there are some options. Perhaps the most obvious one would be to use the "authentication server." With the authentication server, you provide a web interface from which EmailEngine would ask for access tokens whenever it needs to authenticate an account. This process is completely transparent for users who never need to access the EmailEngine's UI.
The following uses Outlook as the example OAuth2 provider. Gmail follows a similar pattern.
- Ensure that your Azure app includes the following scopes:
IMAP.AccessAsUser.AllandSMTP.SendorMail.ReadWriteandMail.Senddepending on the base scopes of your OAuth2 app. You can not use both pairs as IMAP/SMTP scopes are from Outlook API, andMail.*scopes are from MS Graph API, and you can not mix scopes from different API backends. - Make sure that when redirecting the user to Microsoft's sign-in page, you include the following
scopevalues:https://outlook.office.com/IMAP.AccessAsUser.All,https://outlook.office.com/SMTP.SendorMail.ReadWriteandMail.Senddepending on the base scopes of your OAuth2 app - Create a web interface that takes the account ID as the input and returns a currently valid access token as the response. This web interface would be the so-called "authentication server". See this example for the test implementation.
- Update EmailEngine's settings, set
authServervalue to the URL of your authentication server:
curl -XPOST "https://ee.example.com/v1/settings' \
  -H 'Content-Type: application/json' \
  -d '{
  "authServer": "https://myservice.com/authentication"
}'
- When registering accounts via the API, do not set any authentication information. Instead, set
useAuthServer:true
curl -XPOST "https://ee.example.com/v1/account' \
  -H 'Content-Type: application/json' \
  -d '{
  "account": "example",
  "name": "My Email Account",
  "email": "[email protected]",
  "imap": {
    "useAuthServer": true,
    "host": "outlook.office365.com",
    "port": 993,
    "secure": true
  },
  "smtp": {
    "useAuthServer": true,
    "host": "smtp-mail.outlook.com",
    "port": 587,
    "secure": false
  }
}'
- If you want to use API-based scopes (Gmail API or MS Graph API as the mail backend), then you would still have to create the OAuth2 application but EmailEngine would only use the application information for reference, but would not use it to manage tokens.
```js
curl -XPOST "https://ee.example.com/v1/account' \
  -H 'Content-Type: application/json' \
  -d '{
  "account": "example",
  "name": "My Email Account",
  "email": "[email protected]",
  "oauth2": {
    "useAuthServer": true,
    "provider": "<app-id>",
    "auth": {
    	"user": "<expected-username>"
    }
  }
}'
```- Whenever EmailEngine needs to authenticate that user, it makes an HTTP request to your "authentication server" and provides the account ID as the query argument. Whatever your server returns for the authentication info (which should include the access token) will then be used to authenticate that connection.
In general, the protocol for the authentication server is the following:
Request:
curl "https://myservice.com/authentication?account=example"
Response:
Content-type: application/json
{
  "user": "[email protected]",
  "accessToken": "tfhsgdfbsdjmfndsg......."
}
The provided accessToken must be currently valid and not expired. It is up to your app to ensure that the token is renewed if it is expired.This way, your users do not need to know anything about EmailEngine, as it would work completely in the background.
NB! Make sure that the "authentication server" interface is not publicly accessible. For example, set your firewall to allow requests only from specific IP addresses (the EmailEngine server) or include basic authentication information in the authentication server's URL.

