Install EmailEngine on Render.com

Render is one of the newest popular web infrastructure services. It makes managing applications very easy – deploying EmailEngine on Render can be done from the web UI without accessing the SSH.
For the fastest way to set up EmailEngine on Render.com use the "Deploy to Render" button below. This would automatically configure a web service to run EmailEngine and a Redis database for storage. For manual setup, or if you want to use any custom options, the automated blueprint does not allow, follow the blog post.

Step 1. Install Redis
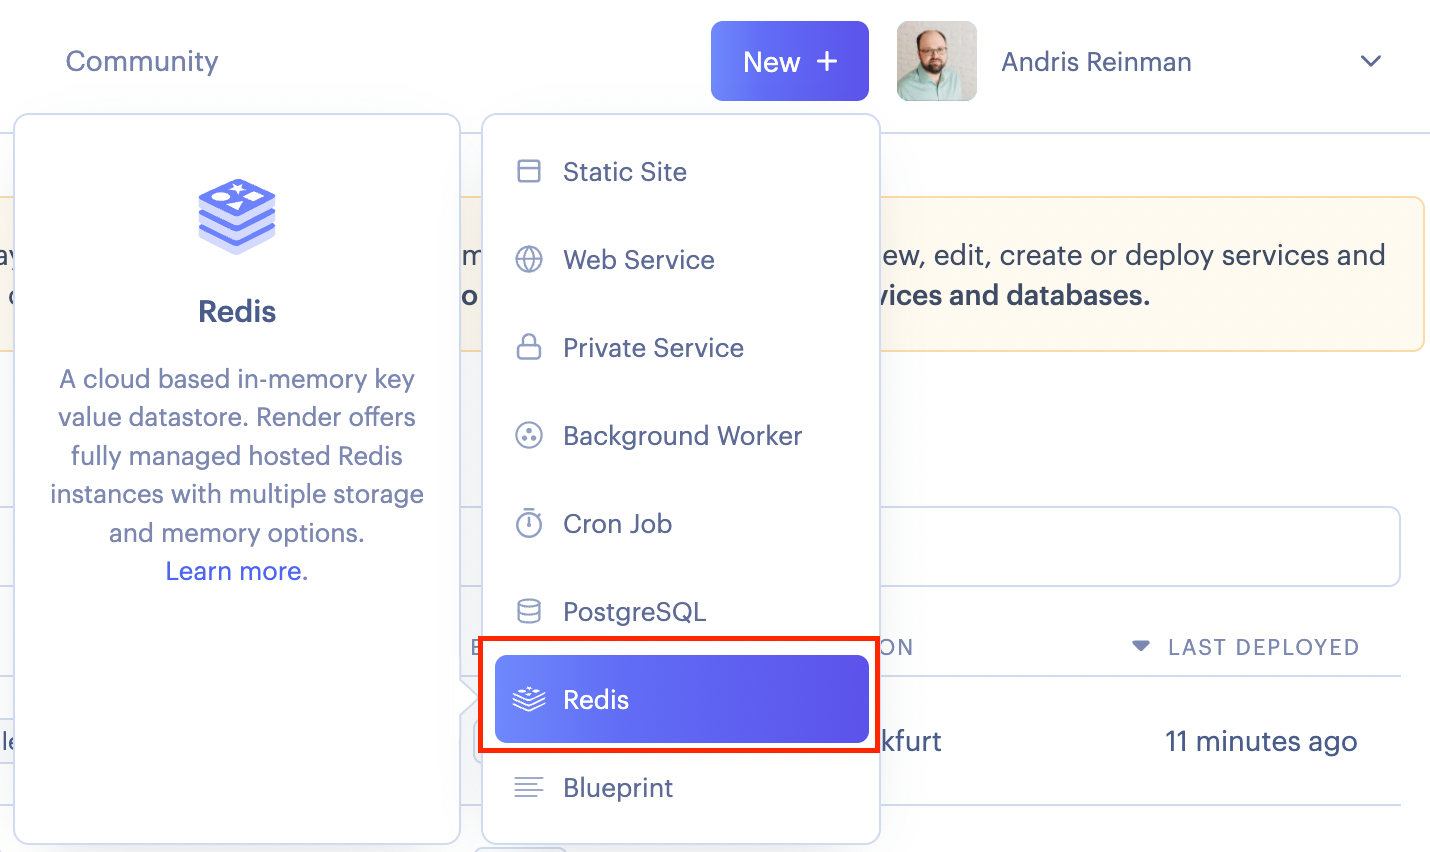
Render has built-in support for Redis. To create a new instance, click on the New+ button on top of your dashboard and select "Redis."
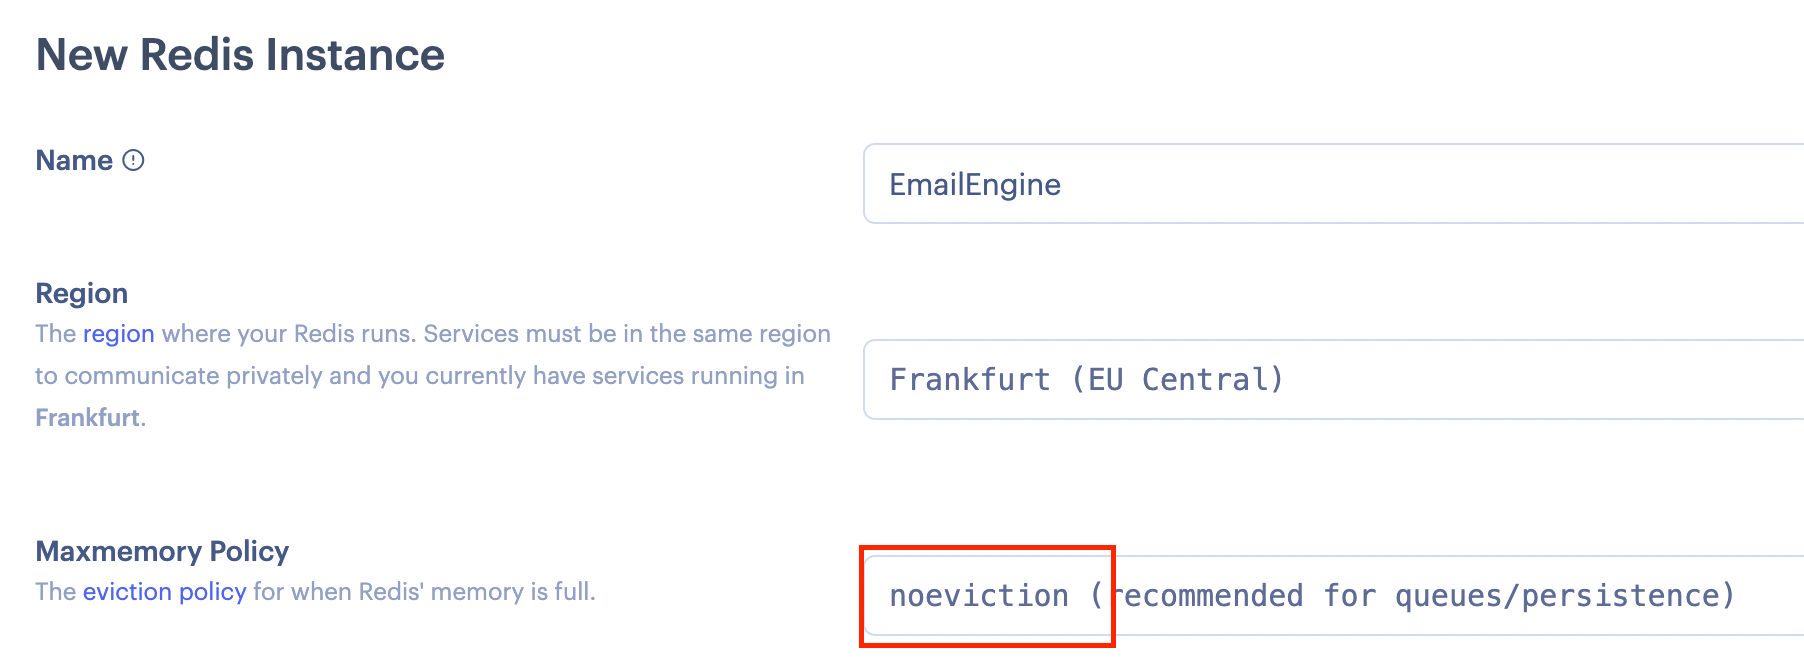
On the setup screen, select the options you like. In general, you should not choose the smallest instance option. For Maxmemory Policy select noeviction.
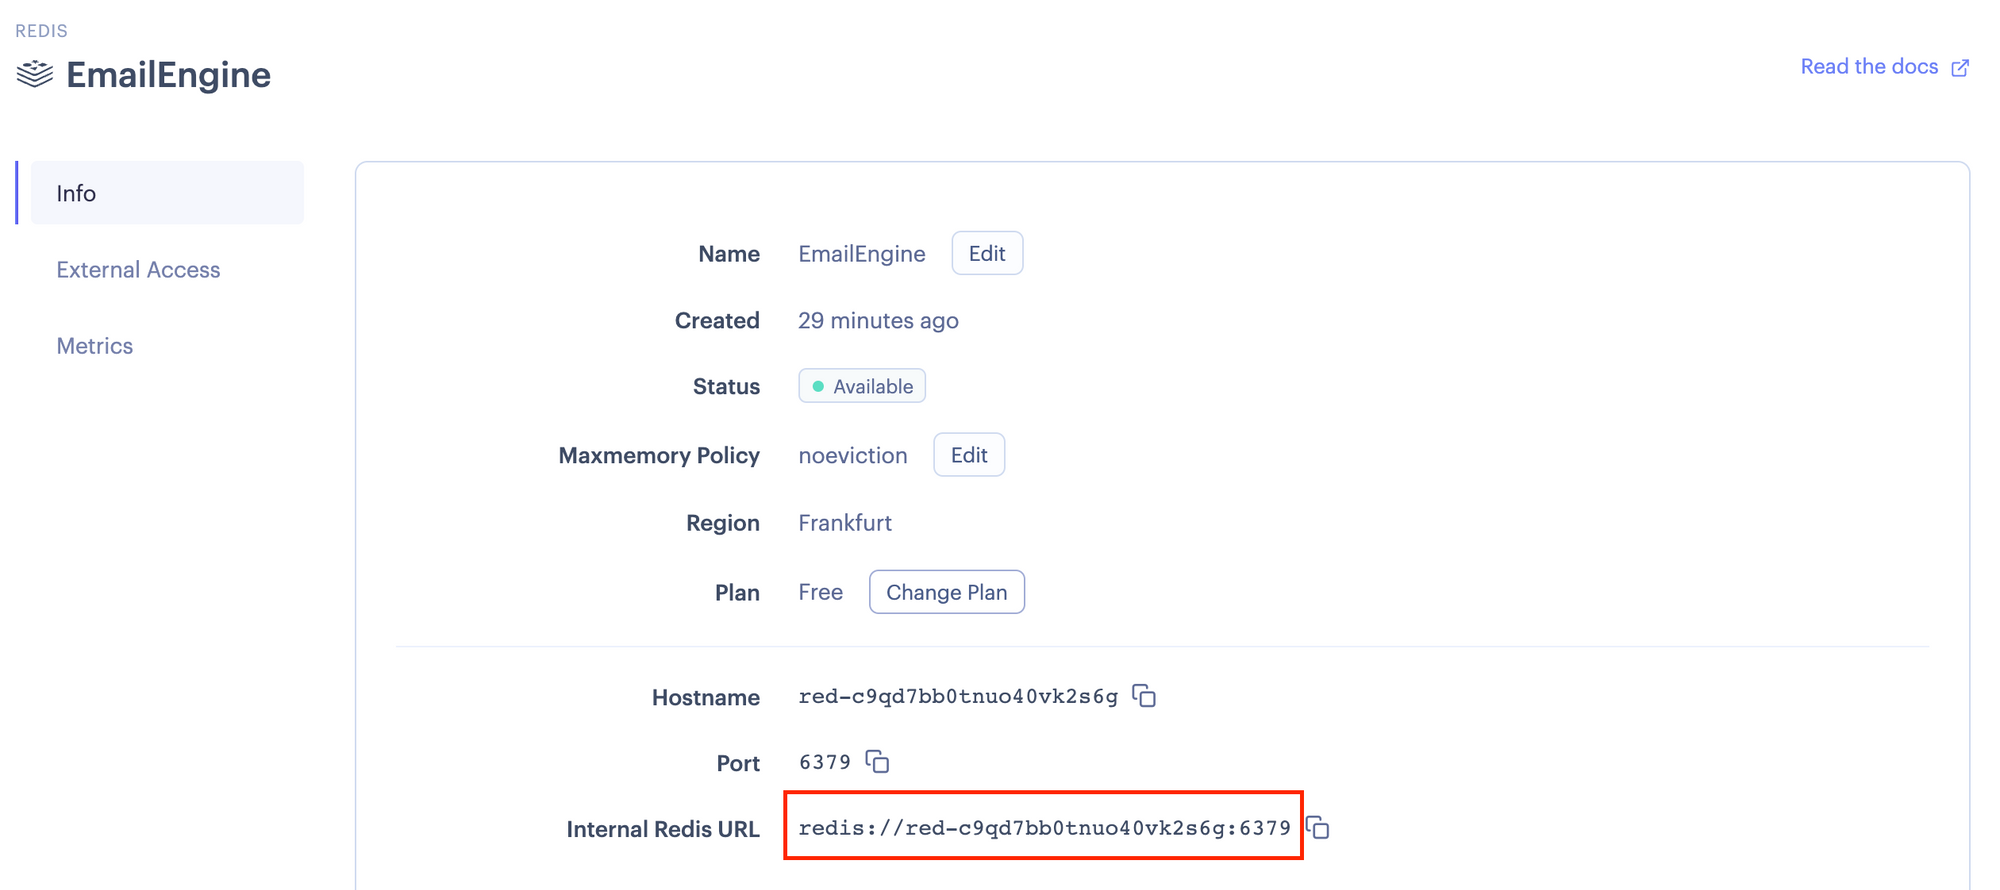
Create the instance and wait until it is started. From the information screen, the only important part is the Redis URL. We will provide this for EmailEngine in a later step.
Now that Redis is up and running, we can continue with setting up EmailEngine.
Step 2. Install EmailEngine
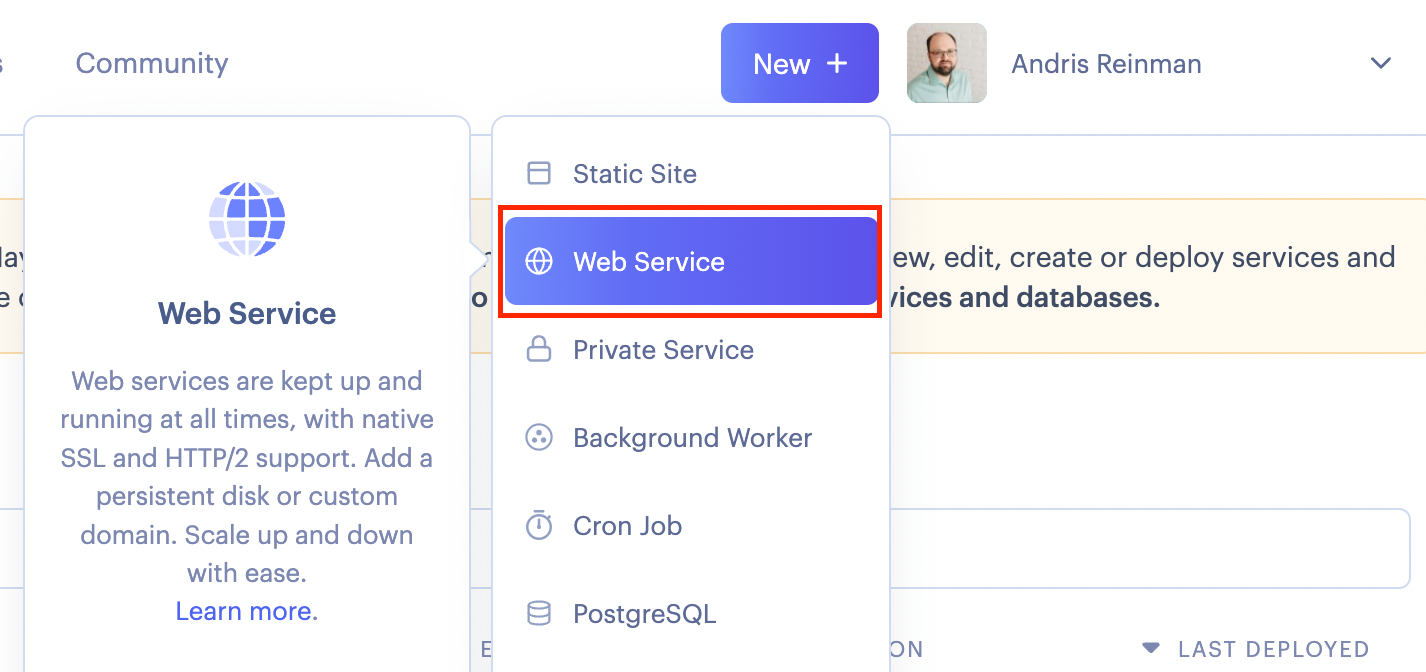
Click on the New+ button on top of your dashboard, and this time select "Web Service."
You need to provide a repository URL for the web service. Use https://github.com/postalsys/emailengine as a public repository.
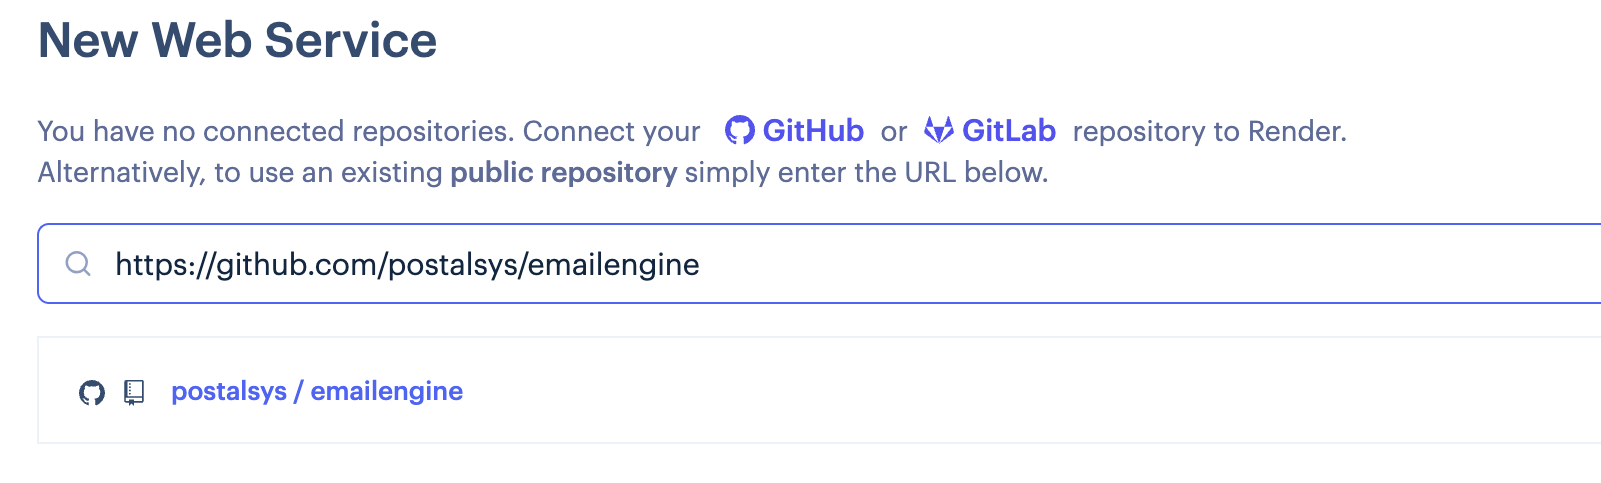
Click on the postalsys / emailengine button to continue.
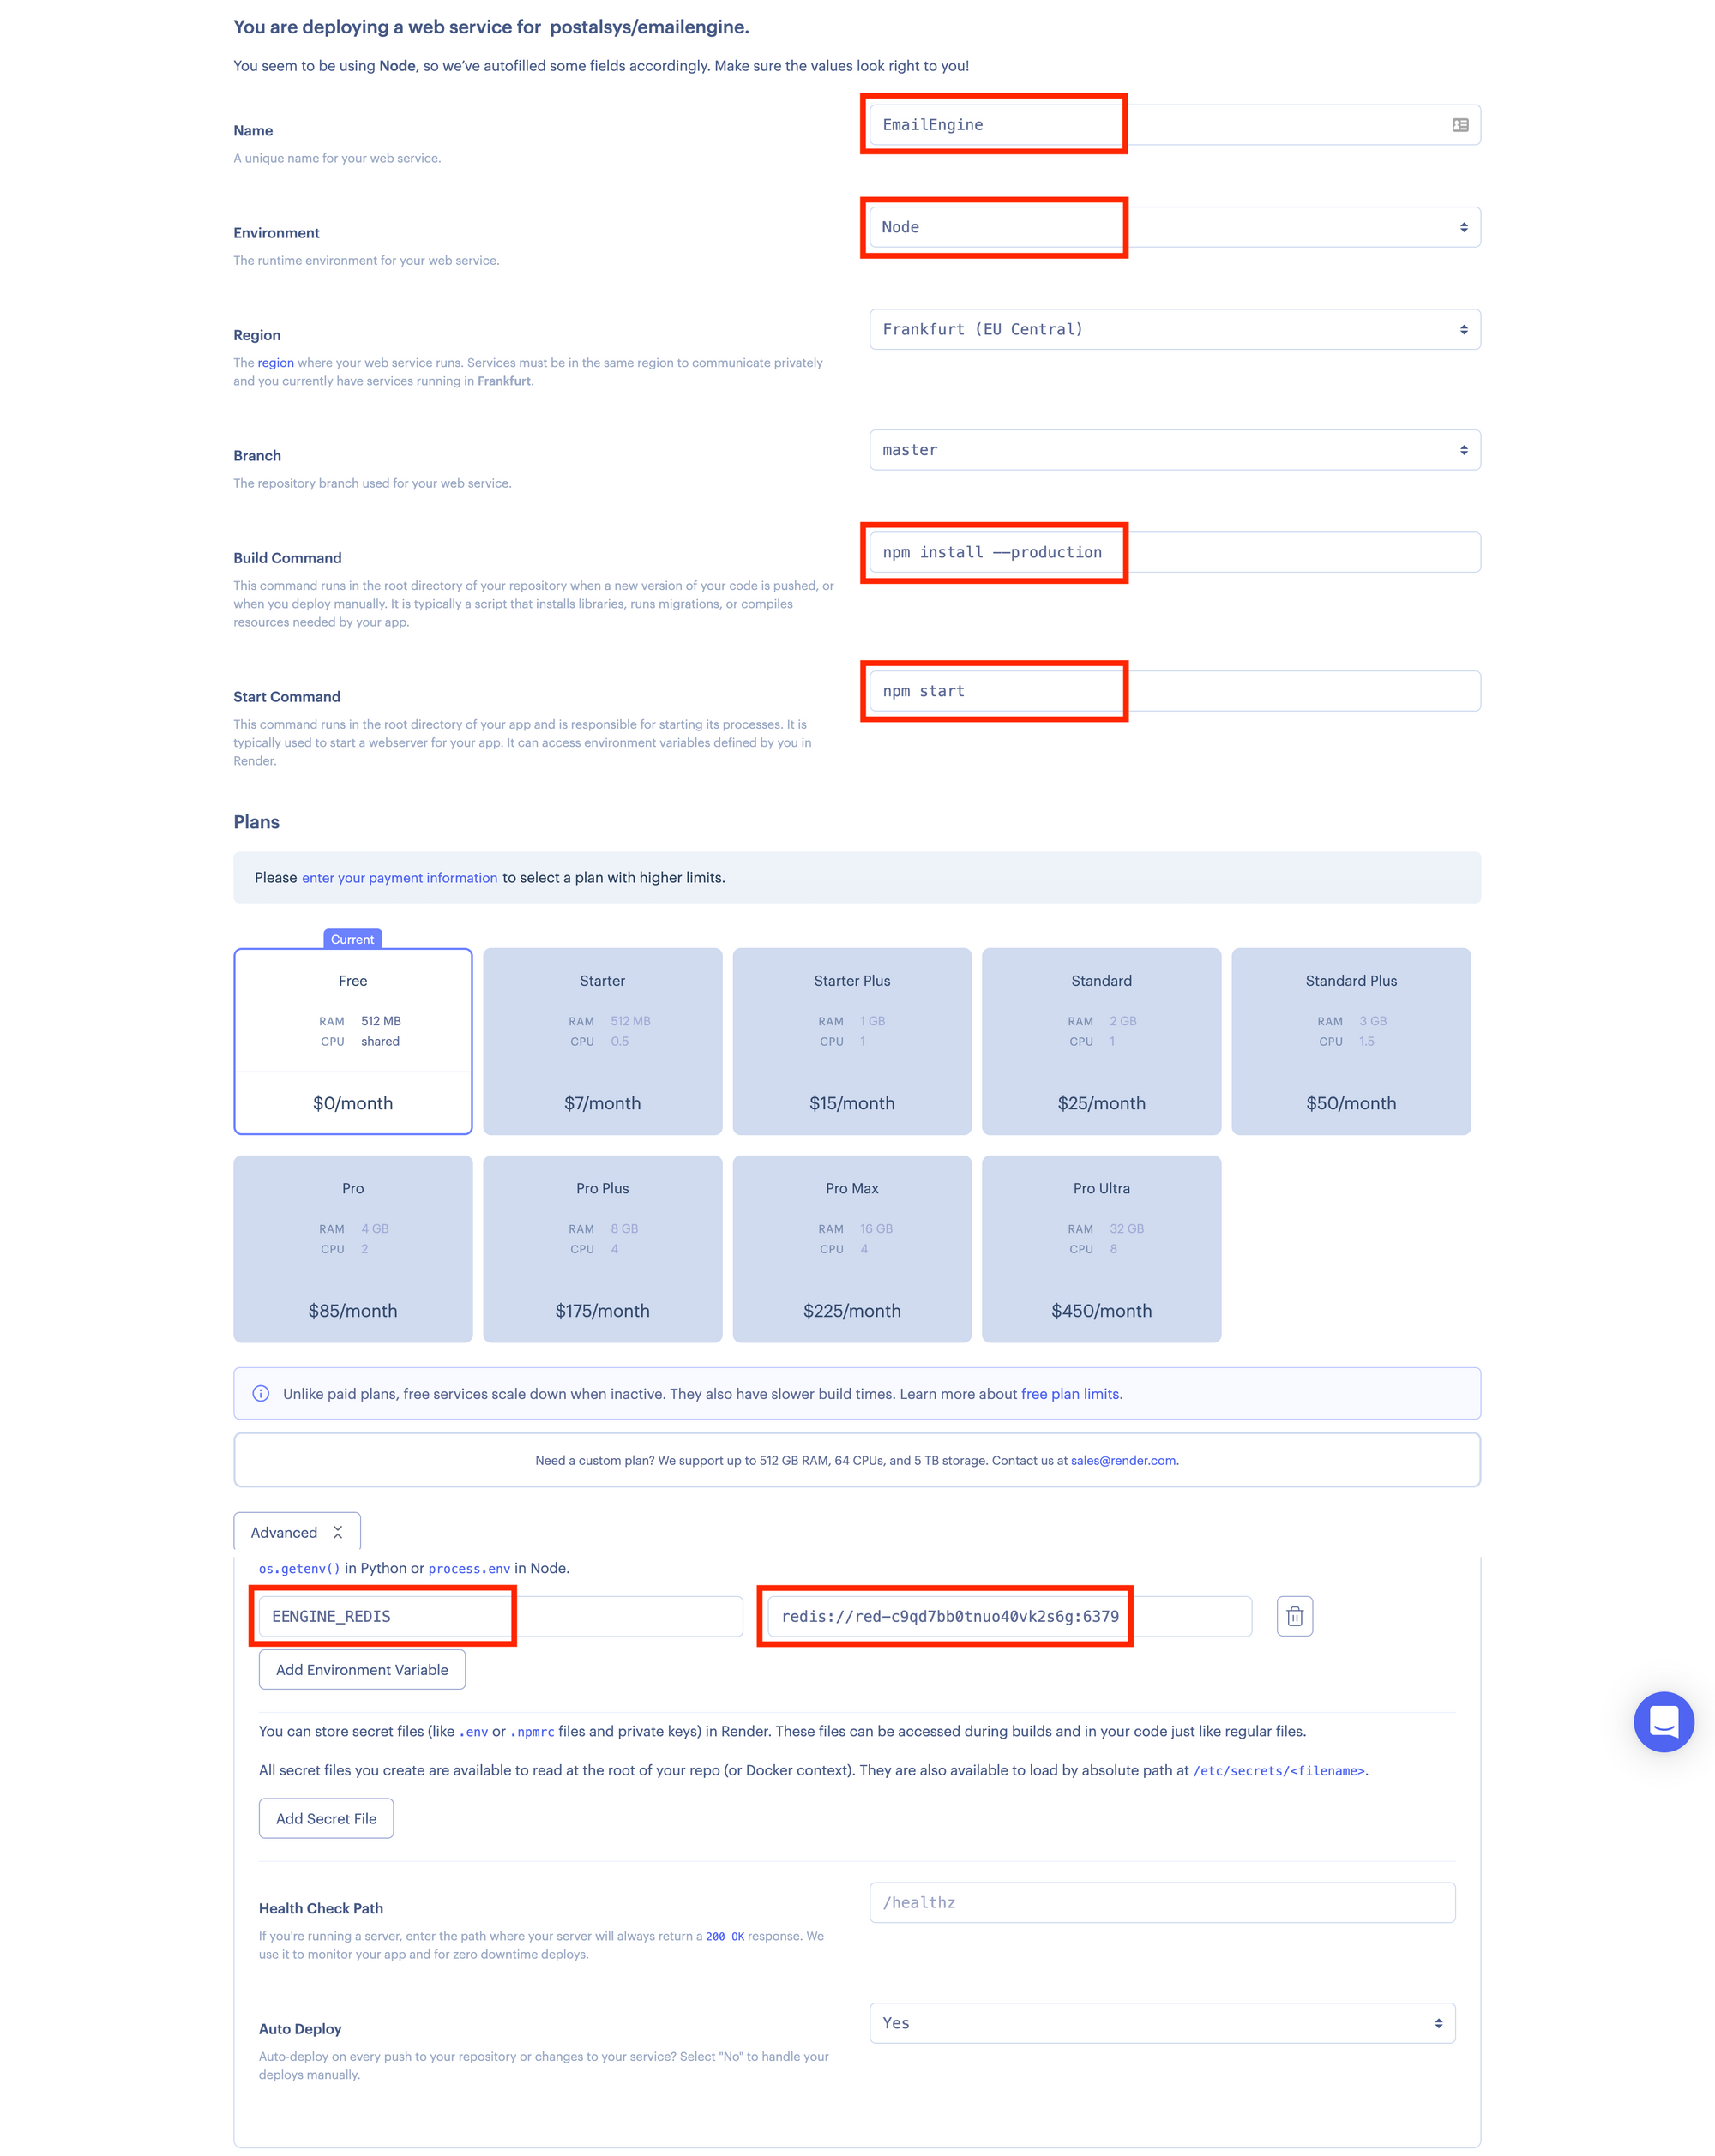
Next, an application details form is shown. Fill the form with the following values:
- Select whatever you want for the name. In this example, we use "EmailEngine."
- For the environment, select "Node."
- For the build command use
npm install --production - For the start command use
npm start
Also, open the Advanced section and add an environment variable EENGINE_REDIS Use the Redis URL that we copied in the previous step as its value.
Yet again, do not select the smallest size. You need at least 1GB of RAM for EmailEngine to function correctly.
Next, you have to wait a bit until Render deploys EmailEngine. If everything succeeds, you should get the application URL from the top of the application details page.
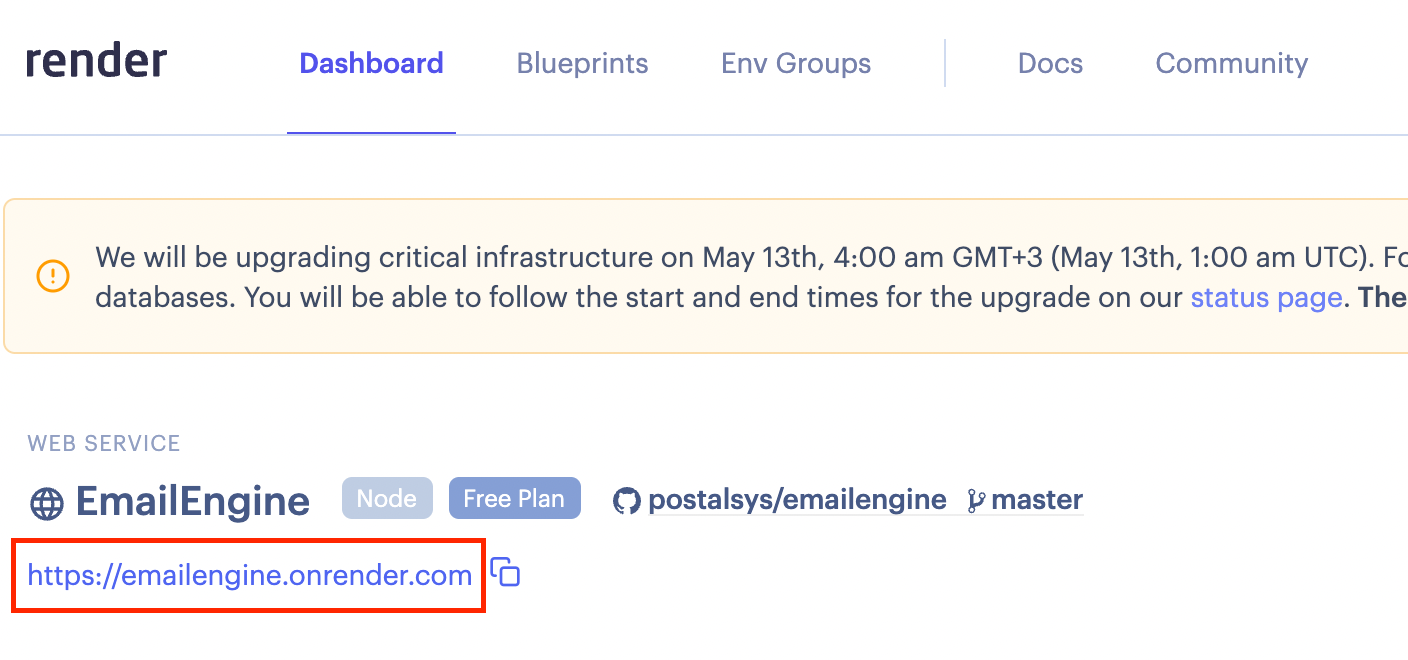
That's it. You can now use EmailEngine.